Pointing the finger at manuscripts
A major problem that faces photographers imaging a manuscript is that parchment doesn’t behave well. Unlike paper, parchment can be stiff. Often it cockles so that a page can have bumps and wrinkles like a dry leaf in fall.

In technical photography, these hills and valleys matter. The Lazarus Project system, for example, has a 50-megapixel camera with a 120mm lens. The aperture of the shutter is set at f/11 (figure 1.A). A quick calculation reveals that at normal distances of one meter, the depth of field — the space in which an image is in sharp focus (figure 1.B) — is 3 millimeters. In practical terms, then, the leaf needs to be held down at the edges so that the highest and lowest point on the page are no more than +/- 3mm.
Traditional solutions
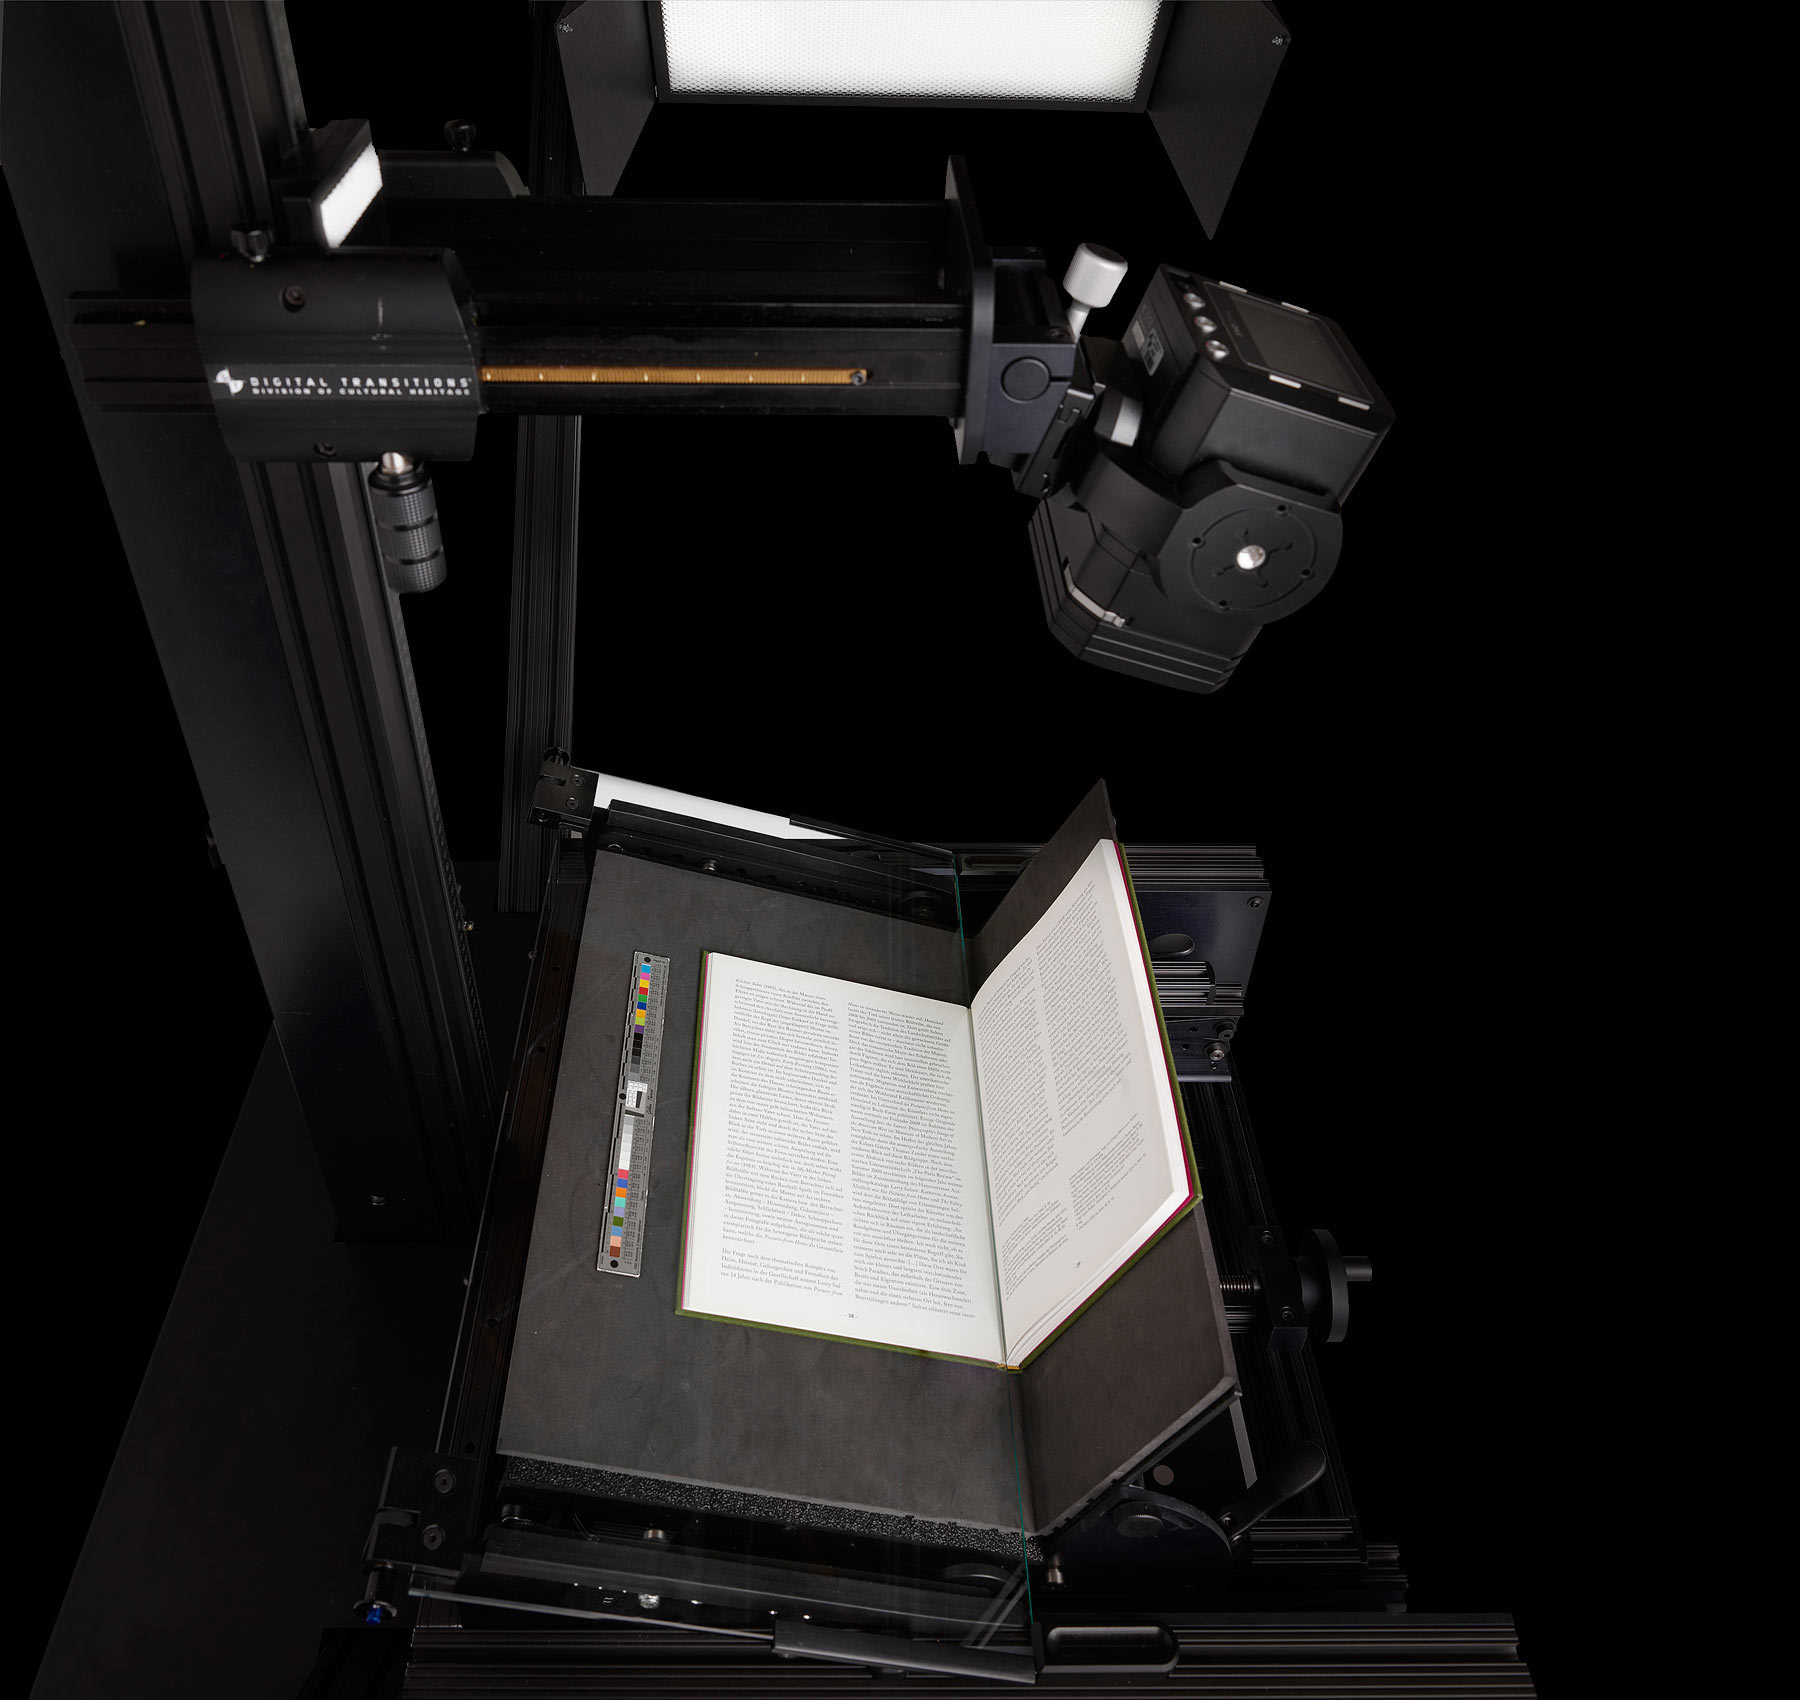 Standard cultural heritage cradles
“How about flattening the leaf with glass?” you might ask. That is how most cultural heritage manuscript cradles work. The one above, by Digital Transitions, shows a glass plate holding the leaf flat. The problem for multispectral imaging is that ultraviolet light, which causes the fluorescence of the manuscript necessary to reveal hidden text, cannot penetrate glass. Glass negates the entire benefit of imaging multispectrally.
Using fingers for multispectral imaging
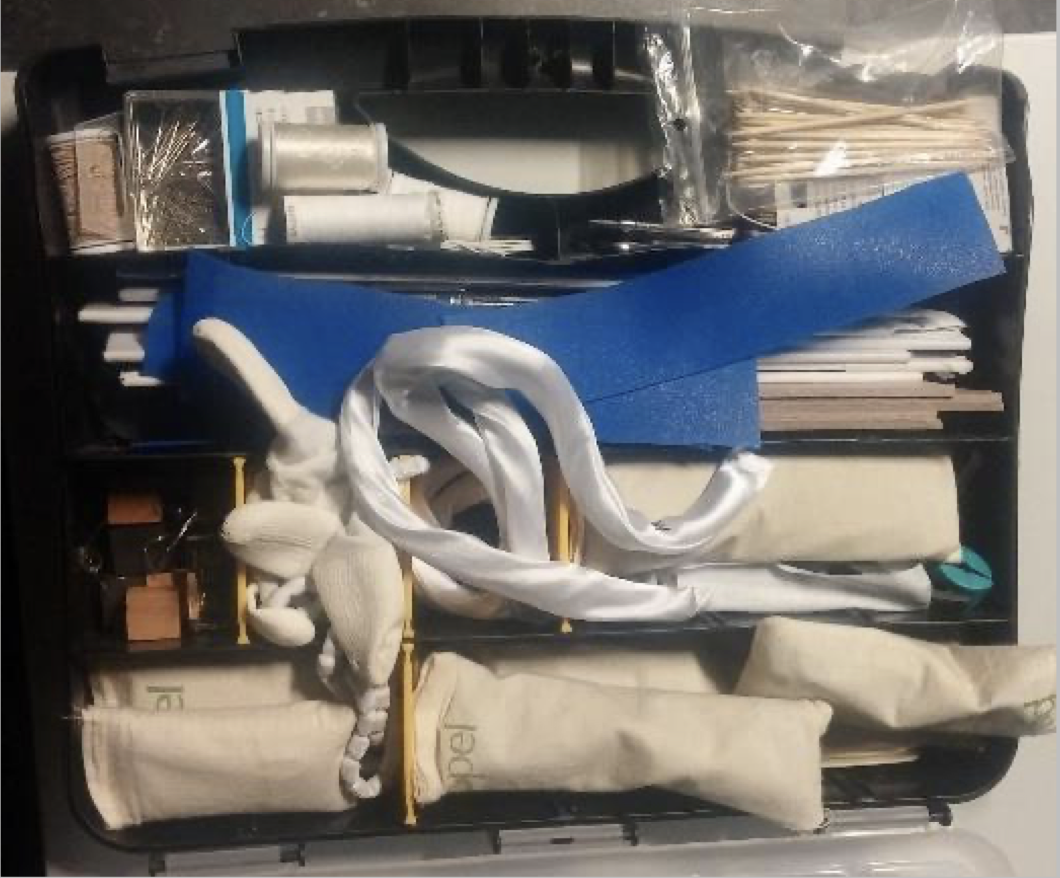
In multispectral imaging, the best practitioners tend to use “fingers,” that is pointed styluses made out of acrylic, teflon, or wood, all of various weights and thicknesses. Figure 1.A shows the toolkit used by imaging specialists and conservators at the Katholieke Universiteit, Leuven, Belgium, including teflon spatulas, wooden toothpicks, and weight bags. Figure 1.B shows me placing a weighted acrylic finger on a leaf of a mappamundi in Dresden, Germany. The problems with the acrylic finger are its size, which obscures a part of the manuscript, its opacity — it doesn’t allow UV light to pass through it - and the fact that it often needs to be weighted. Figure 1.C shows Michael Phelps of the Early Manuscripts Electronic Library, a leading multispectral imaging group, placing a teflon spatula on the edge of a manuscript. The teflon, although thick, has a somewhat finer point than the acrylic finger, and has the benefits of being a little bit heavier (to weight down the edge), and super smooth so as not to damage the parchment. However, if the finger needs to be placed between letters on the edge of a leaf, it often covers a bit up or throws shadows on the manuscript, blocking some of the multispectral light. Finally, although heavier, it is often too light to hold down a really stiff or cockled manuscript and thus must either be weighted down further with a weight bag or more spatulas must be used.
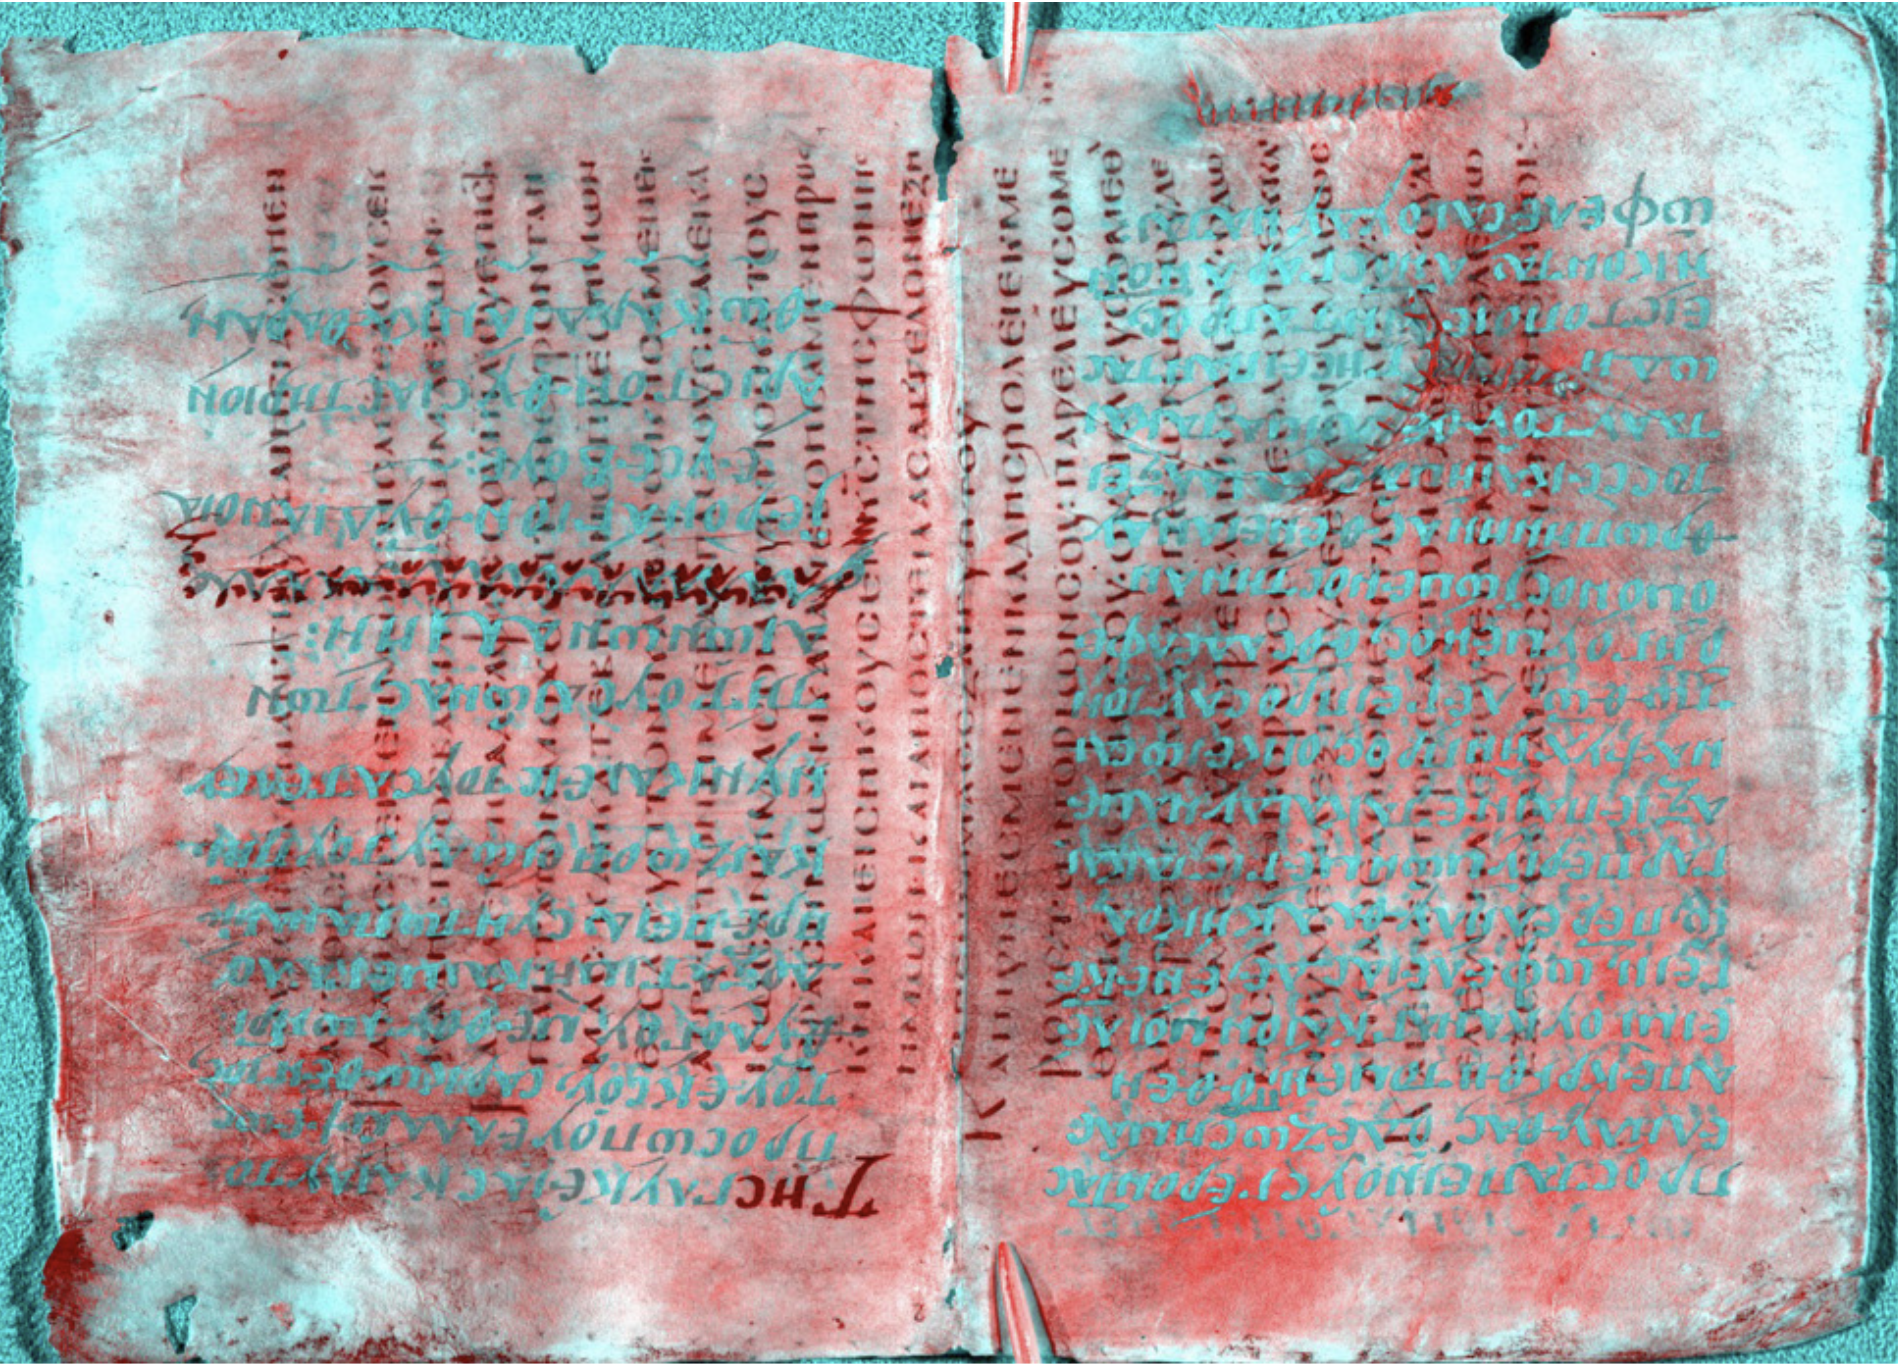
Another solution is the wooden toothpick or wooden knitting needle. Here, the tip is very fine and the finger pretty thin. The drawbacks are (1) they need to be tilted up at an angle and supported by a fulcrum in order for the tip to contact the paper (figure 2.A), and (2) they are so light that, in order to hold a manuscript edge firmly, they need to be weighted down with a weight bag (figure 2.B). As you can see, not only does the extra apparatus clutter up the manuscript carrier, but the height of the fulcrum and weight bag can cast shadows on the manuscript. The results, although good, are not perfect. Figure 2.C, again from the Early Manuscripts Electronic Library, shows a processed multispectral image of a Greek palimpsest from St. Catherine’s Monastery in the Sinai. Looking closely, you can still see the shadows cast by the wooden knitting needles.
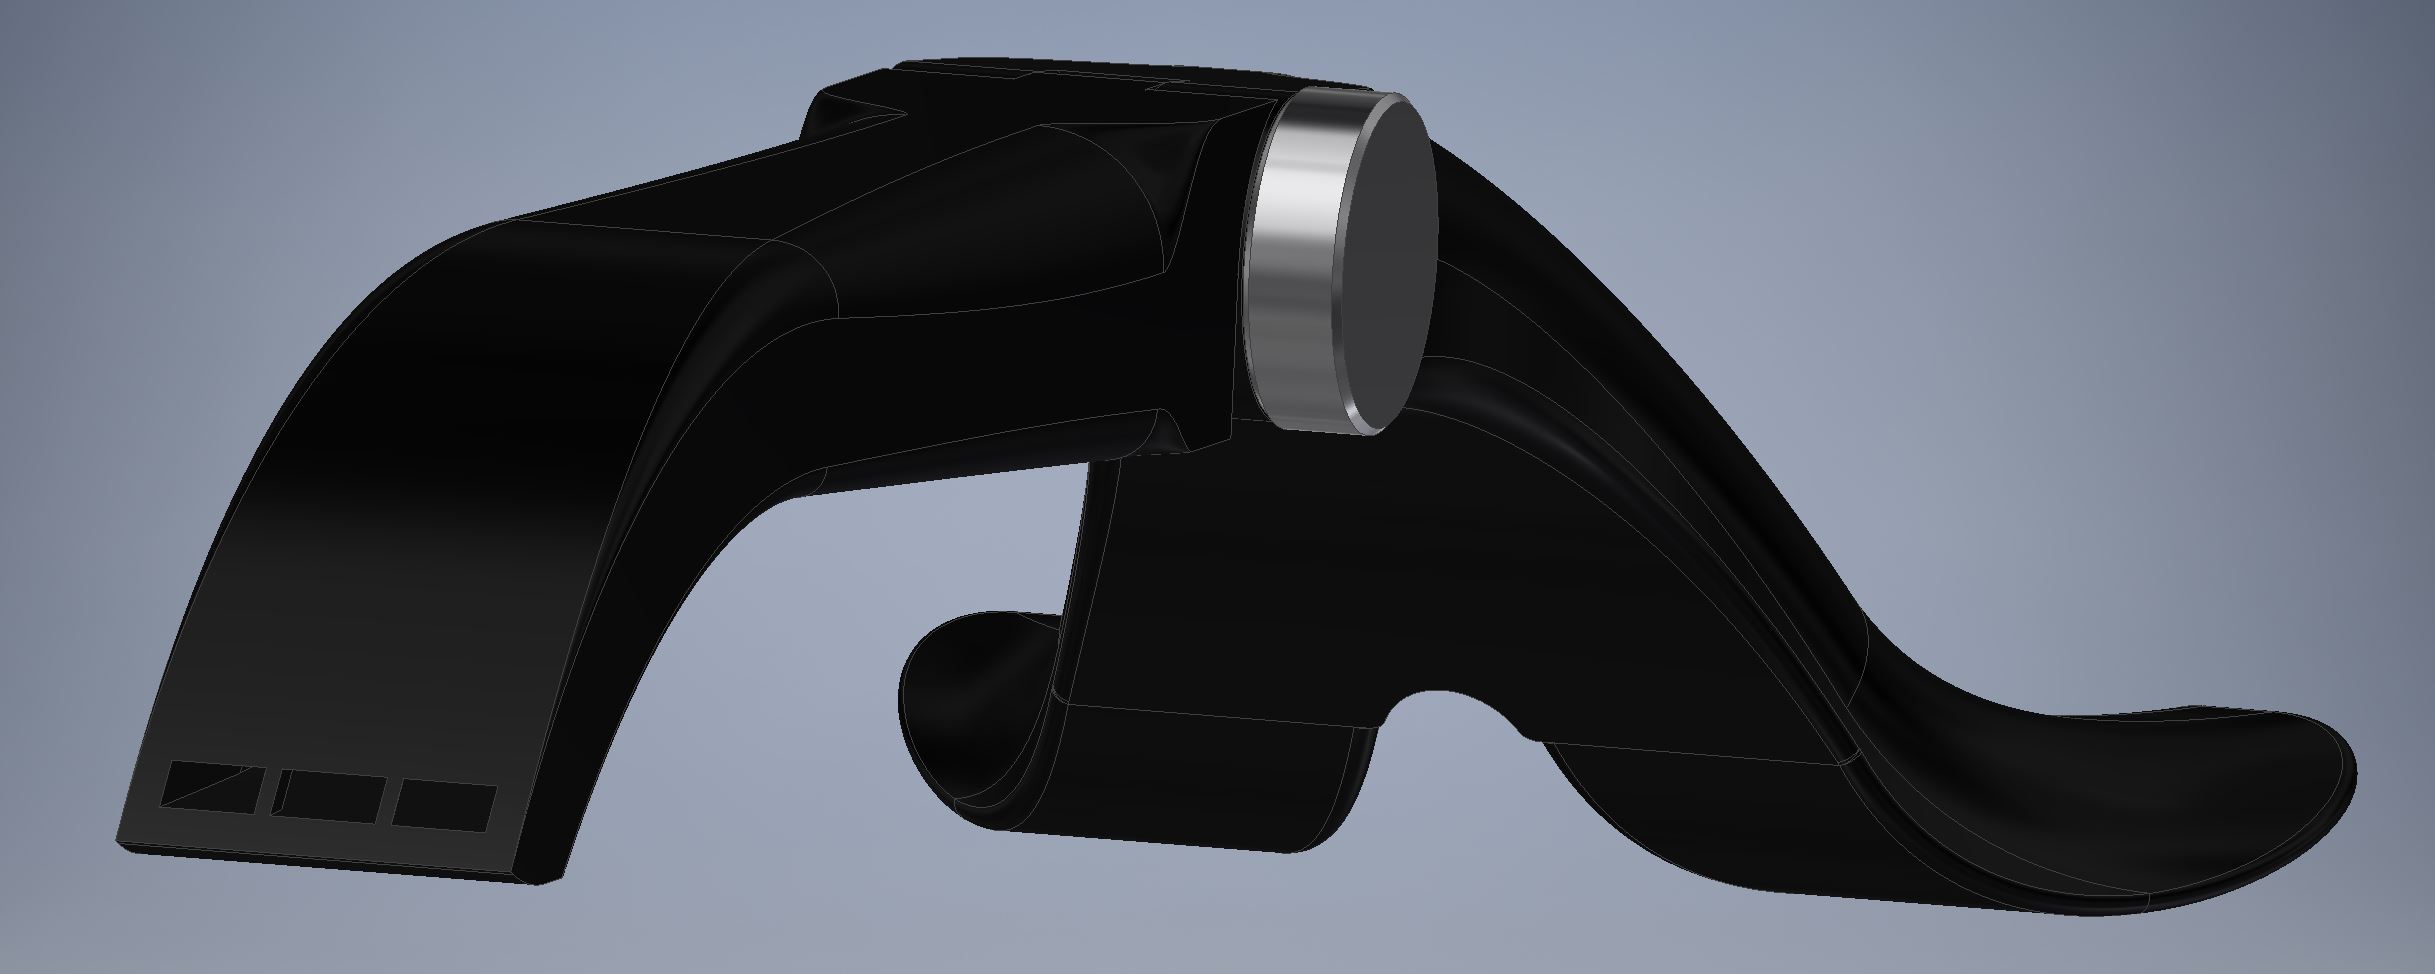
A new finger design
After watching the Lazarus team lose time with knitting needles, and asking some questions about what an ideal finger should do, I came up with the design below.
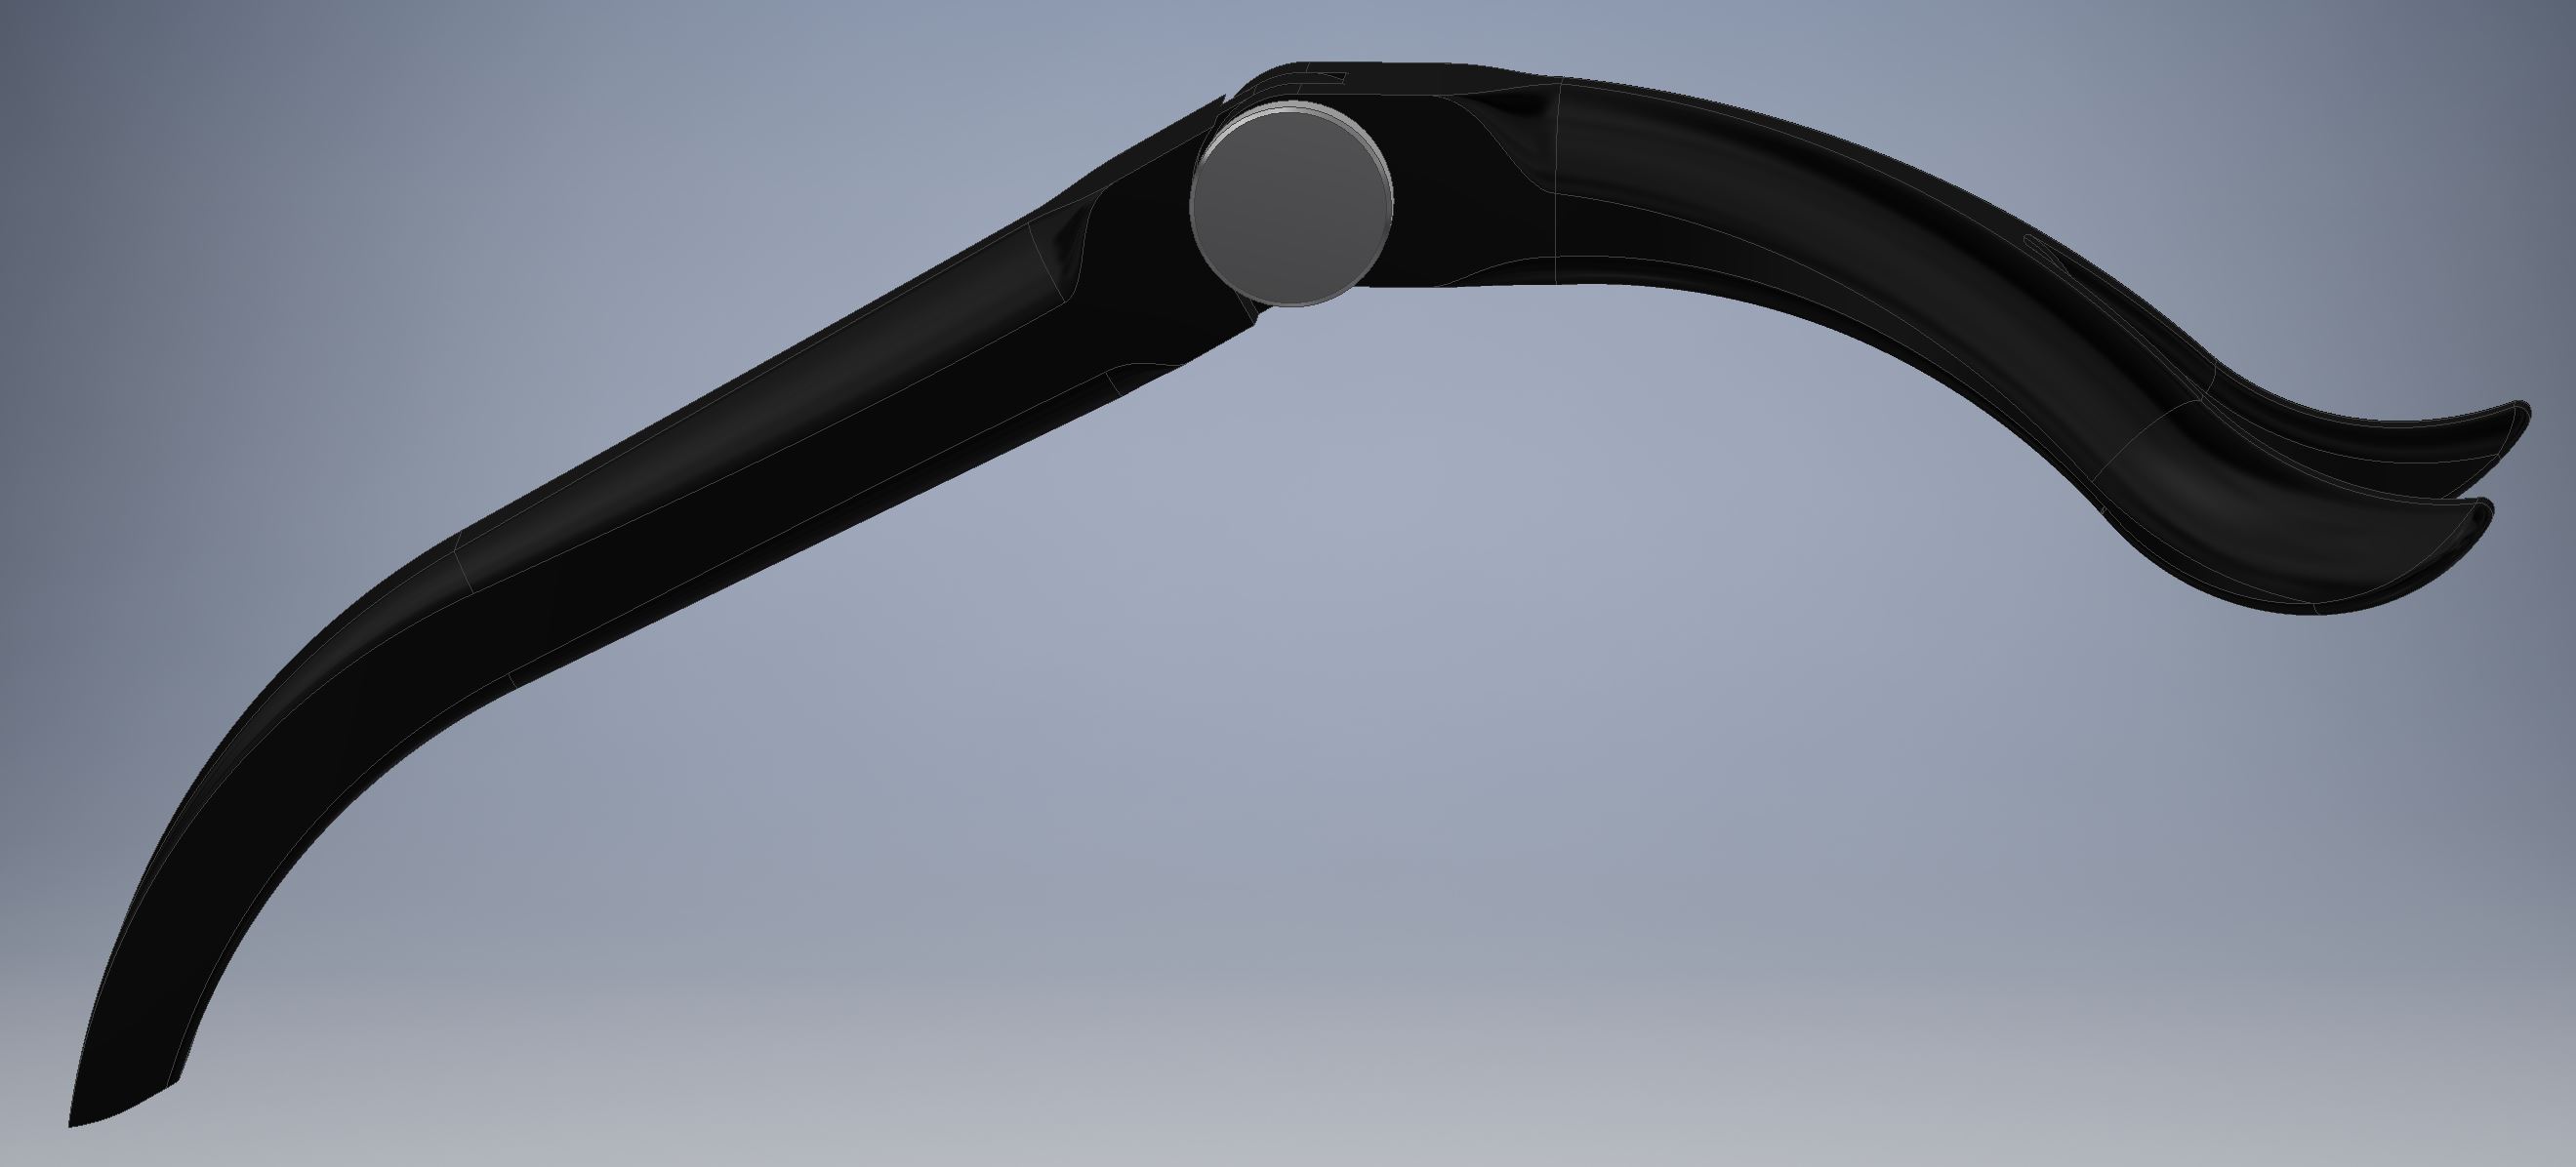
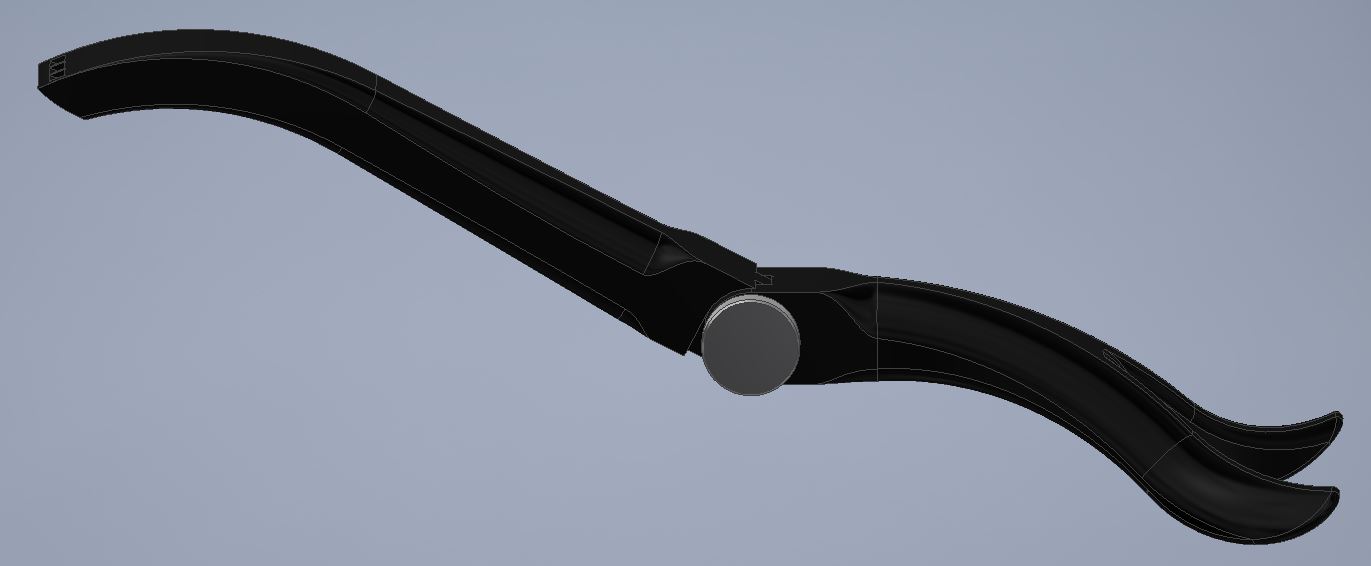
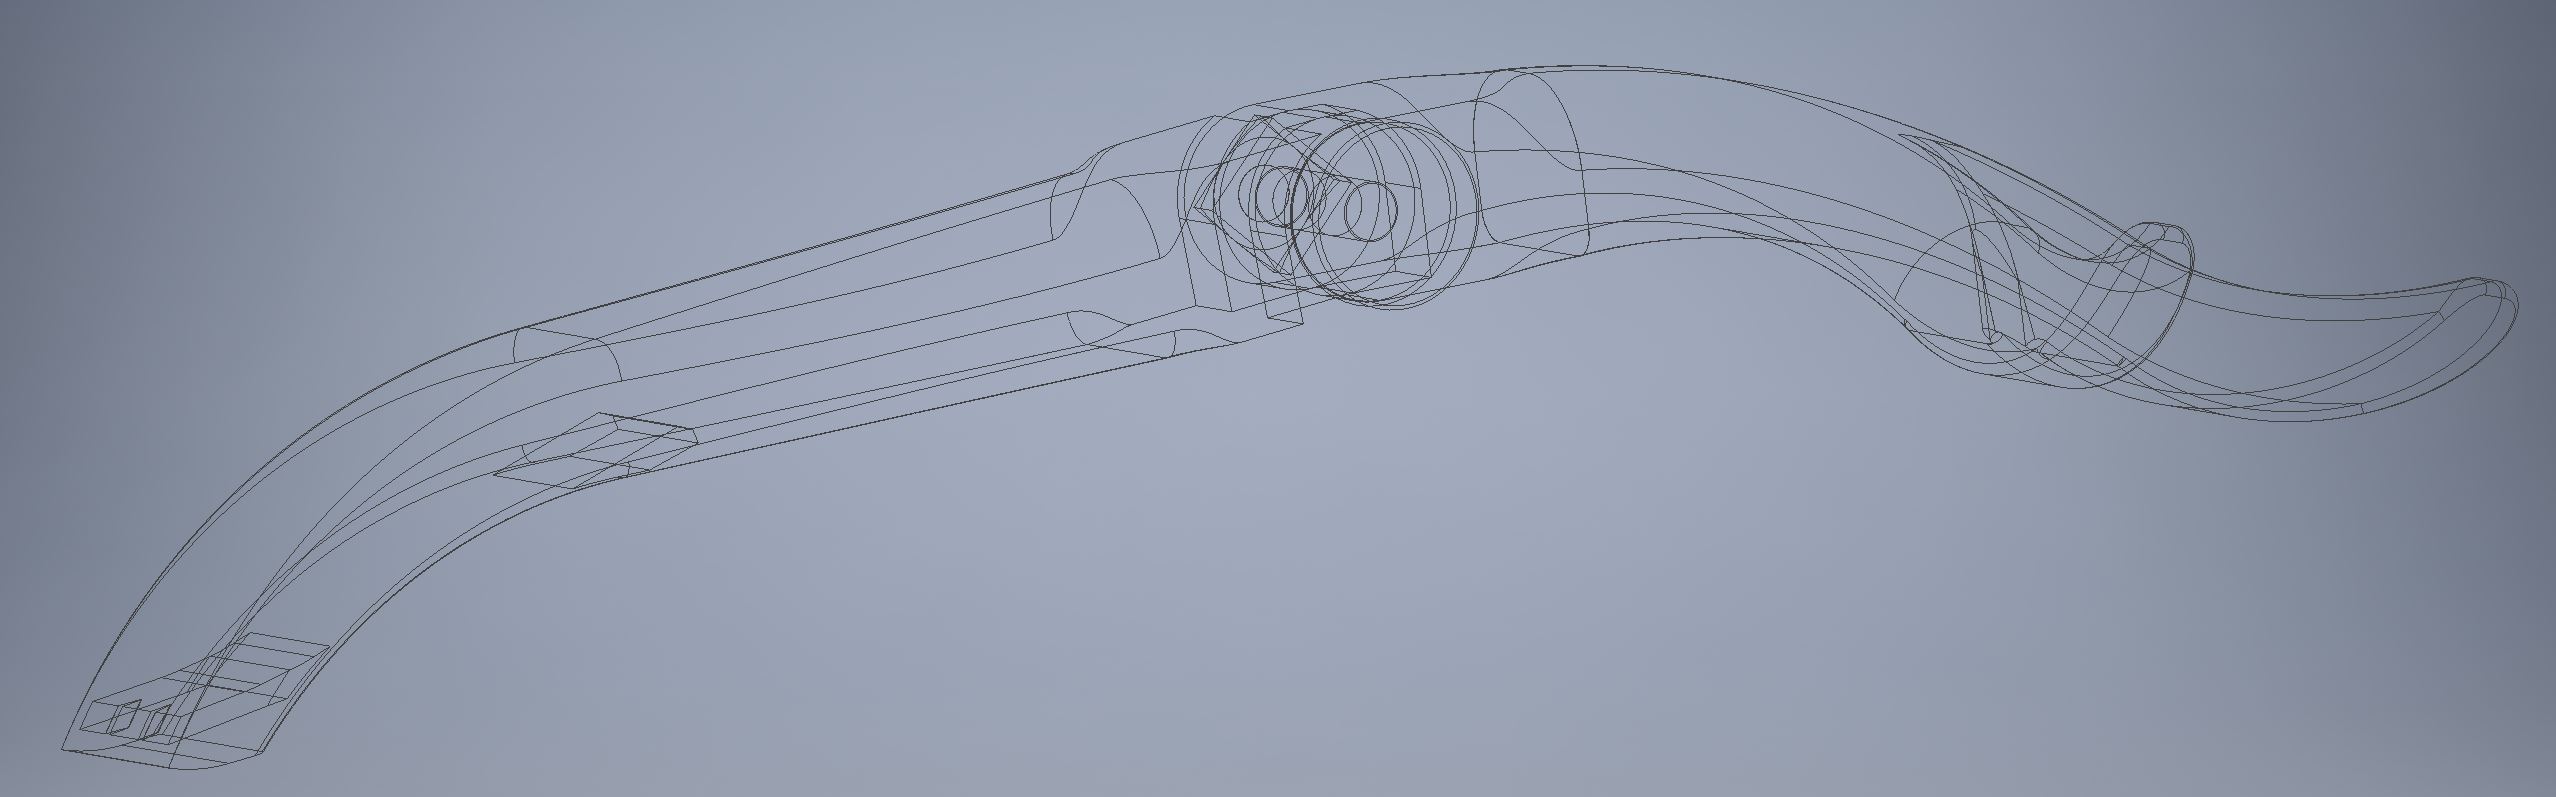
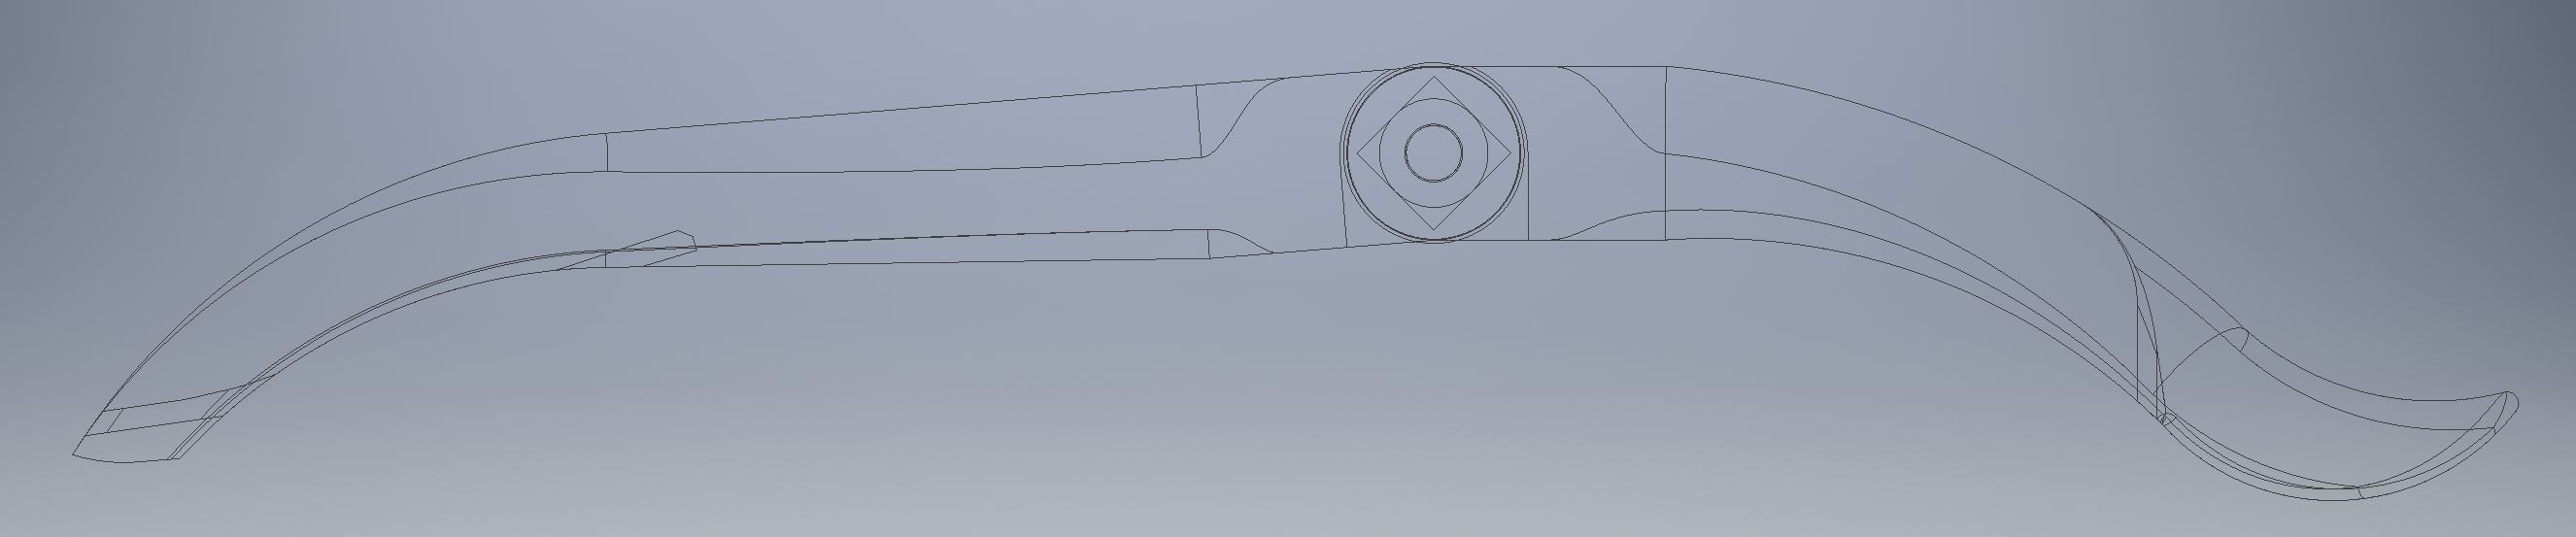
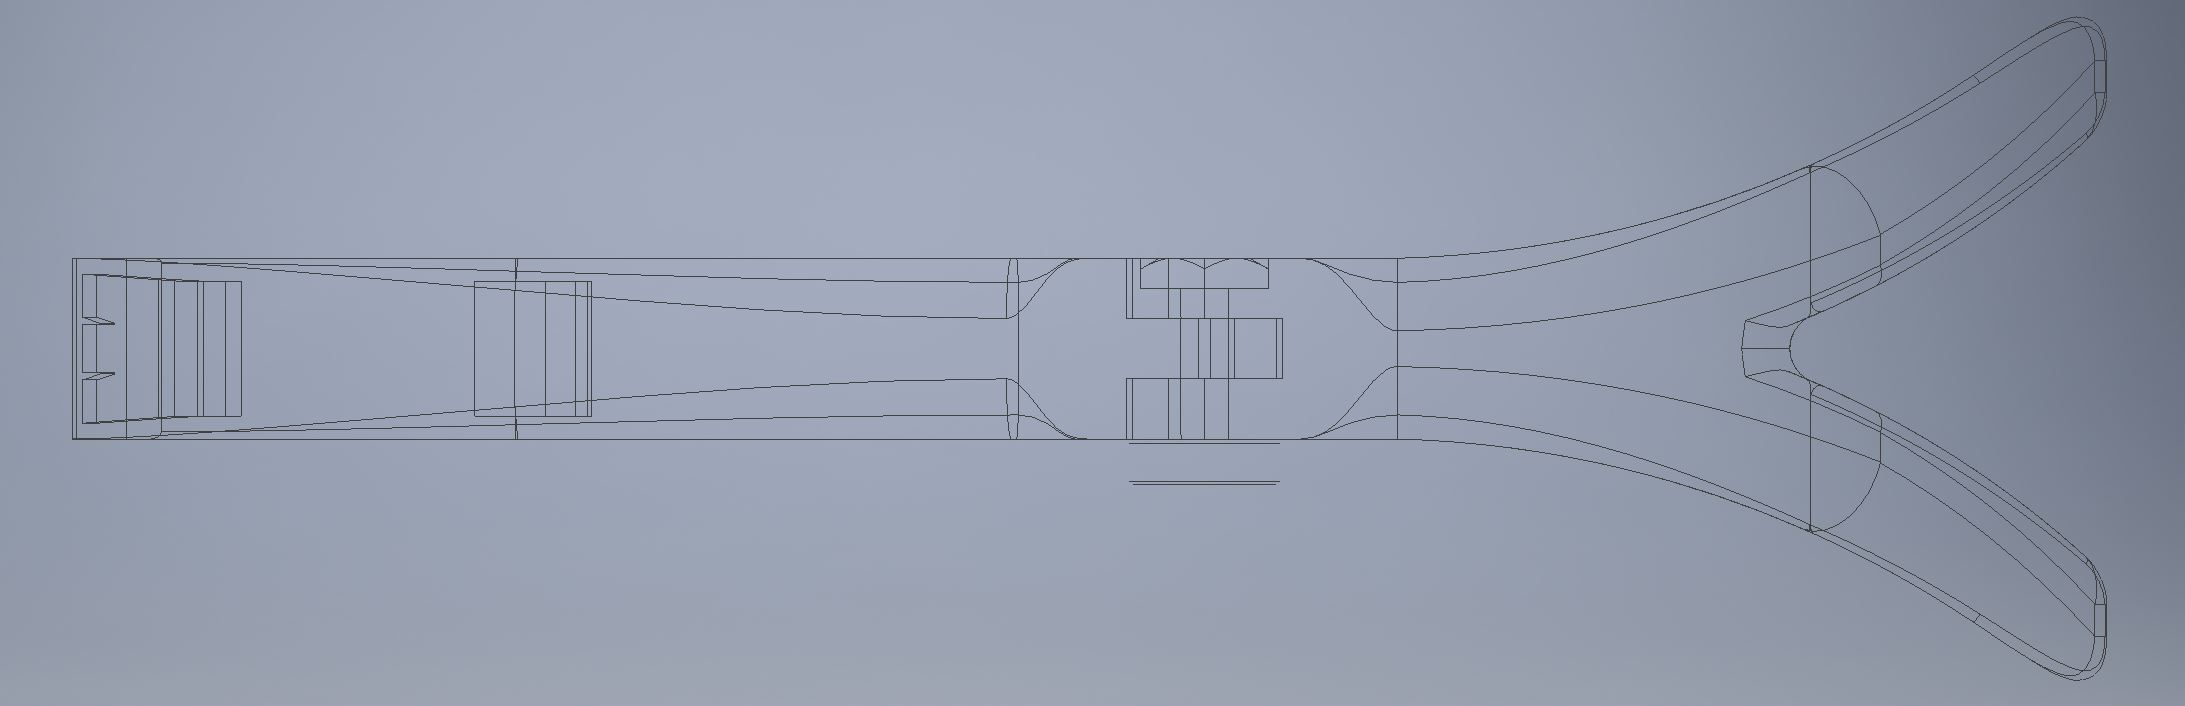
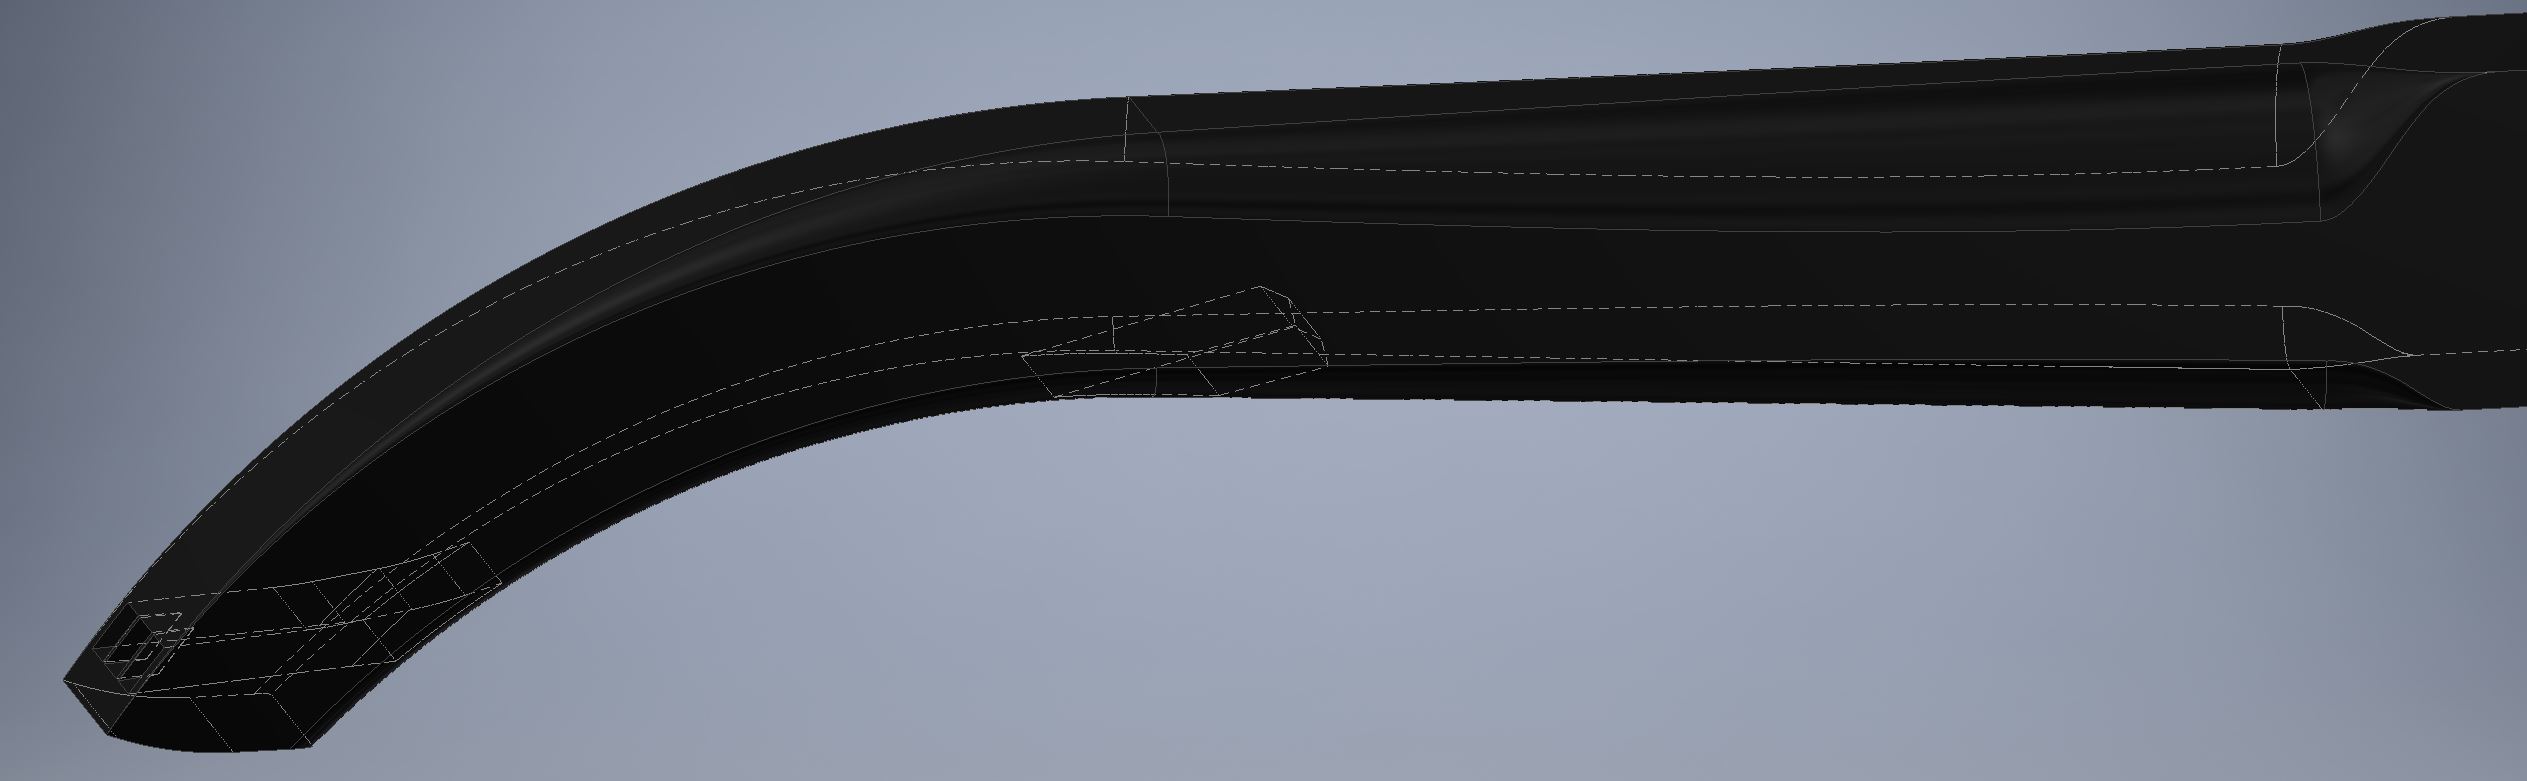
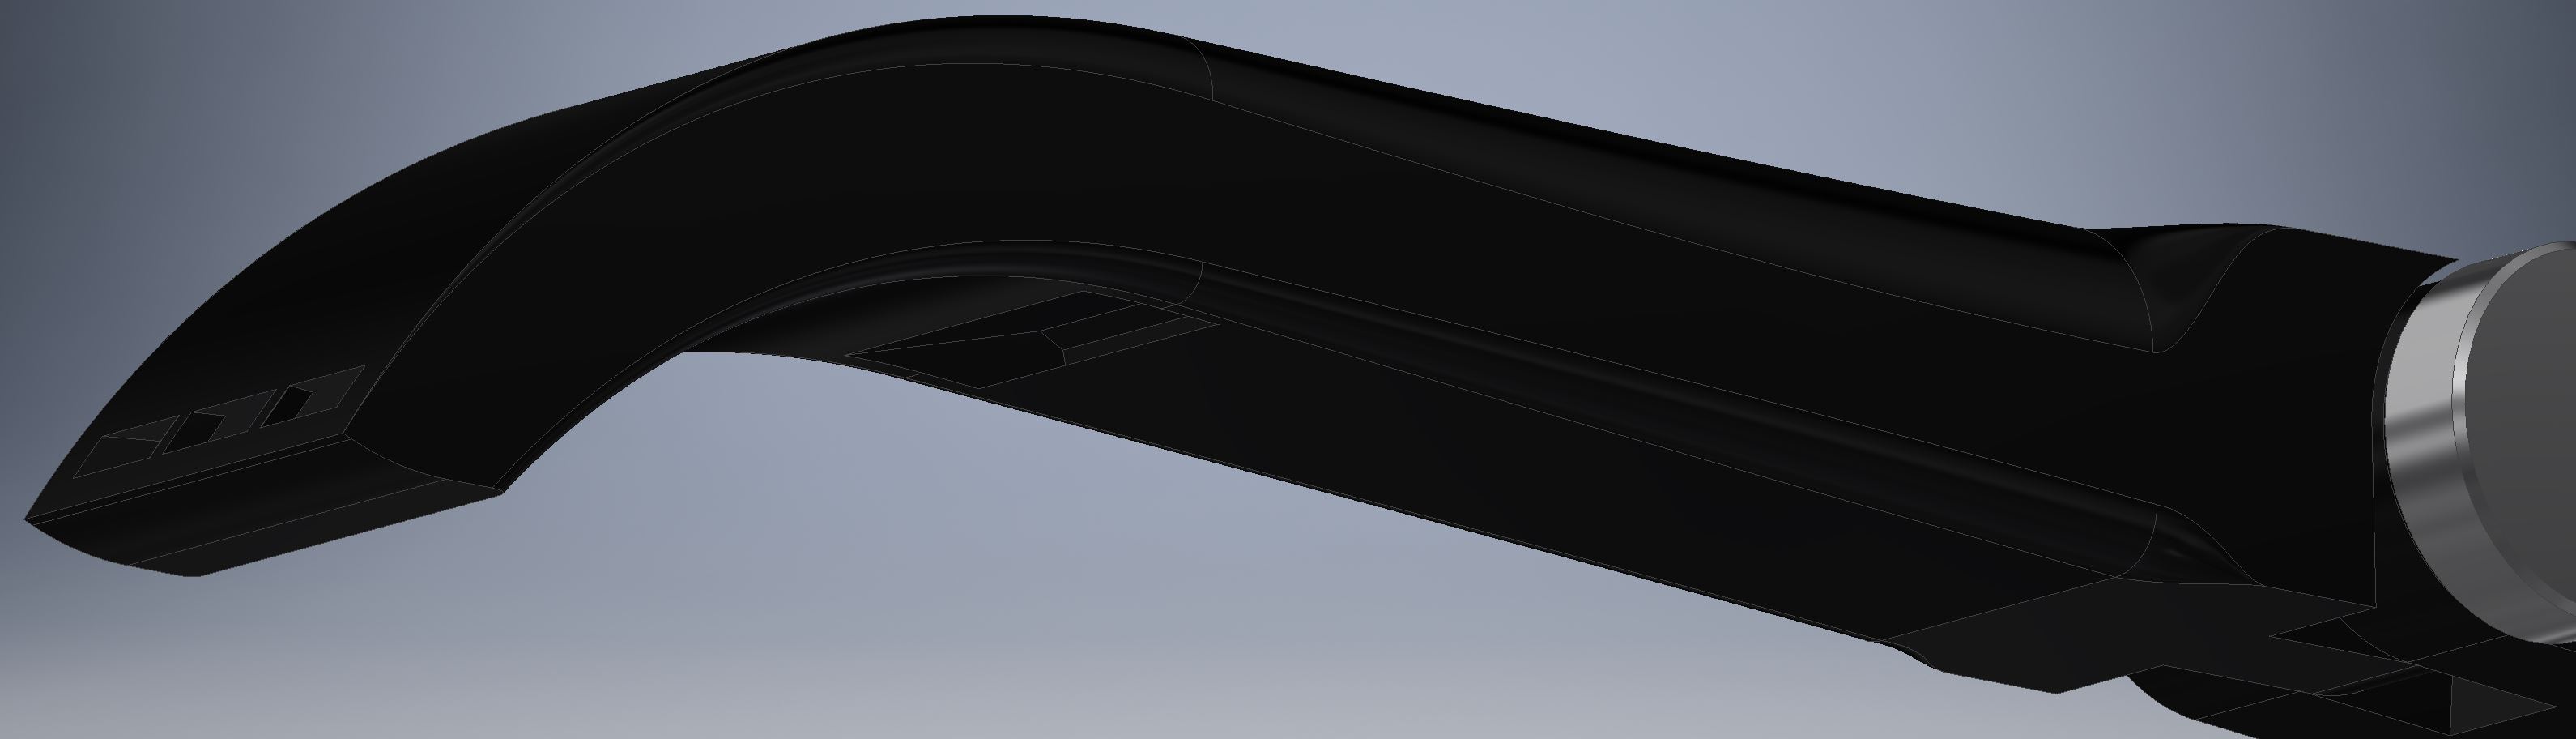
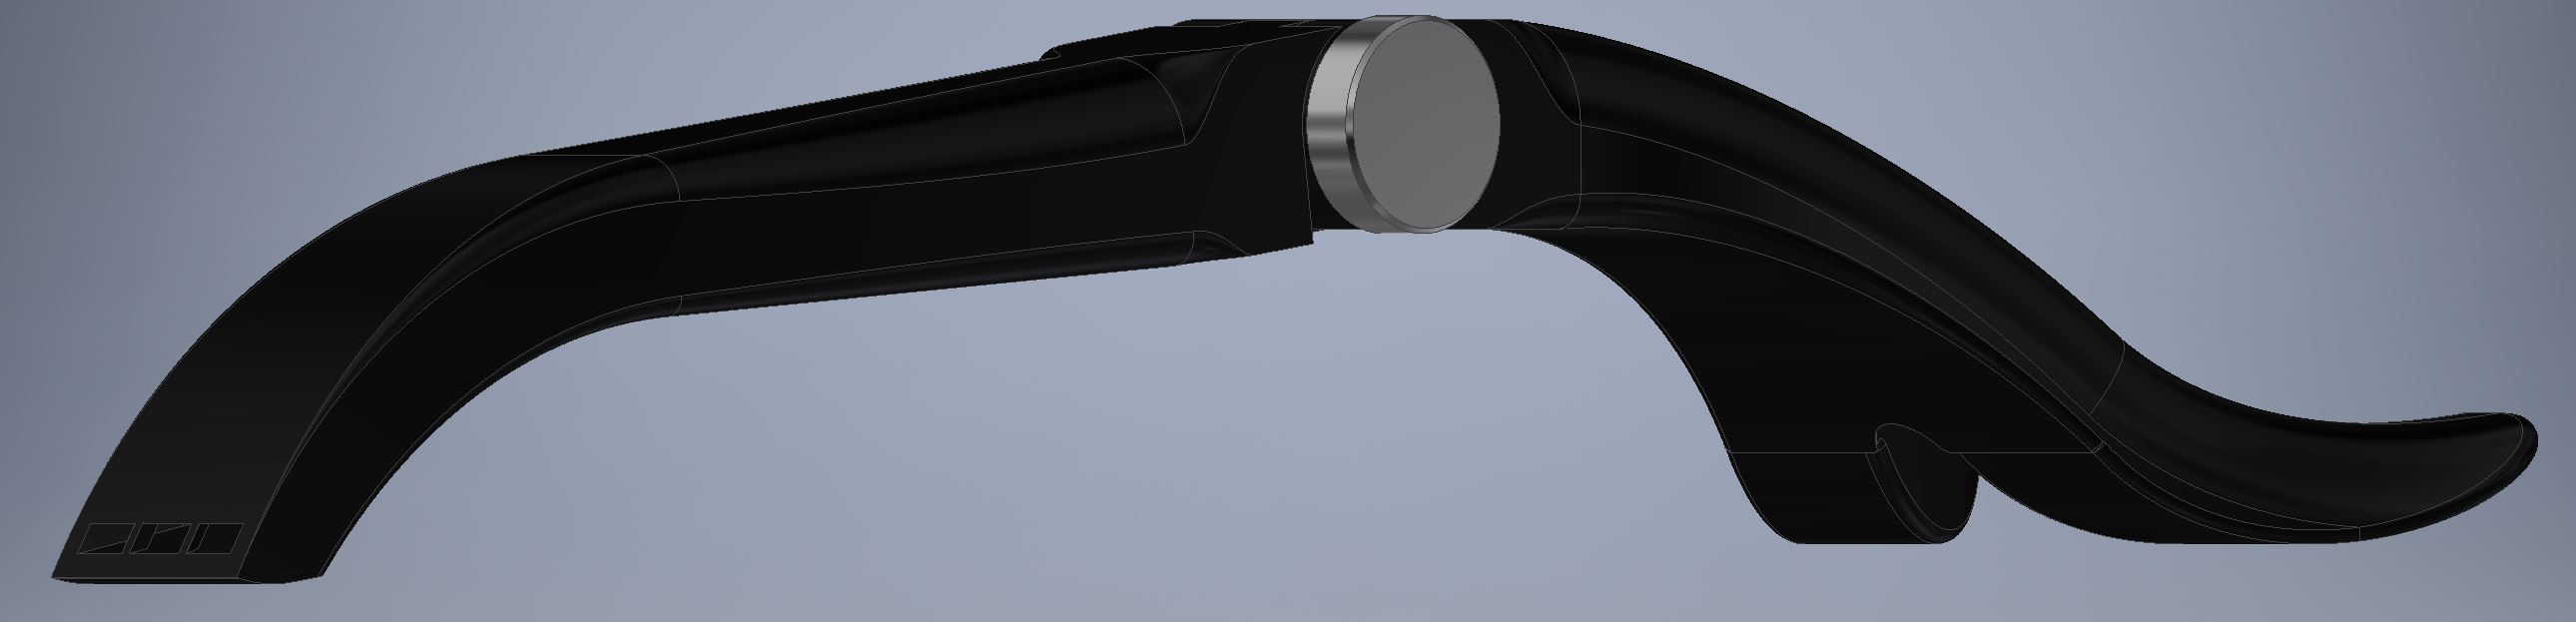
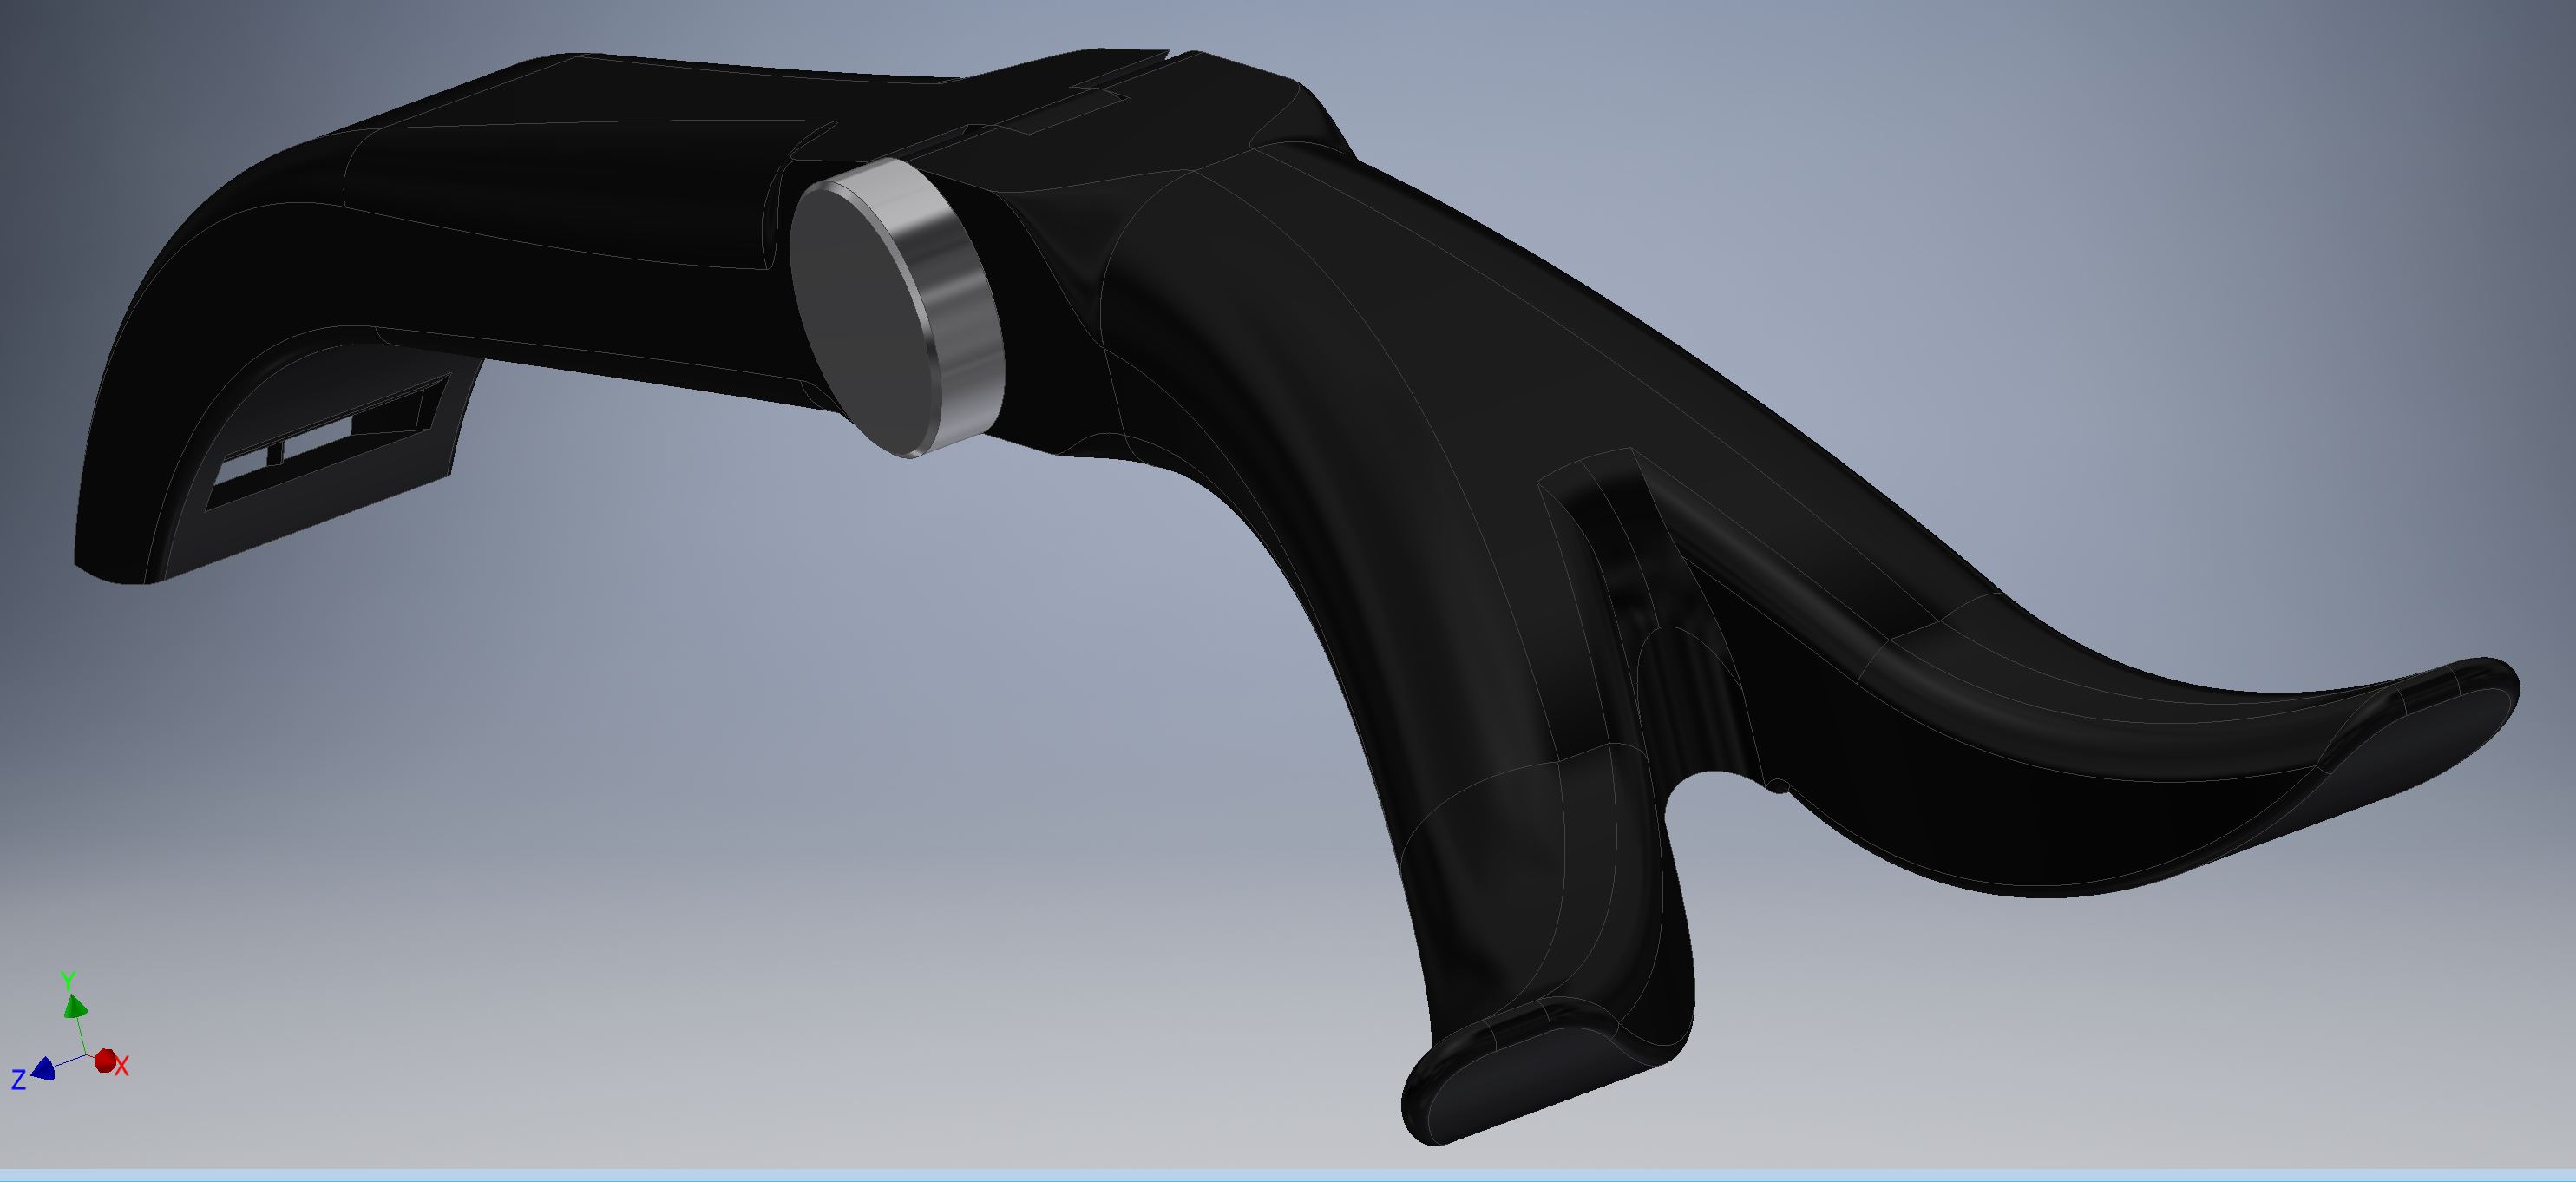
It consists of two parts: (1) A black resin finger holder, with a silicone coated forked base for stability that can be adjusted in the middle for height and downward pressure, with three slots in the nose to accommodate one or more carbon fingers. (2) Wafer thin (2mm x 5mm), flat carbon fiber rods (not pictured) shaped in a “V” at the end, and of various lengths. These can be inserted in the slots in the nose, and held in place by flexing them into a notch in the shaft (see figures 2.B, 2.C, and 3.A).
 Casting in resin
After 3D printing the finger holders in resin in pieces and assembling them, I plan to make silicone molds of the parts, and cast them in resin. I will experiment with adding weight to the shaft by mixing the resin with tungsten powder. Finally, I will coat the carbon fiber fingers themselves in clear nail polish to prevent them from leaving black marks on the parchment. I will also add beige nail polish to the last 4 millimeters so that the fingertip will blend in with the color of the paper or parchment, eliminating the need for retouching the images.
Casting in resin
After 3D printing the finger holders in resin in pieces and assembling them, I plan to make silicone molds of the parts, and cast them in resin. I will experiment with adding weight to the shaft by mixing the resin with tungsten powder. Finally, I will coat the carbon fiber fingers themselves in clear nail polish to prevent them from leaving black marks on the parchment. I will also add beige nail polish to the last 4 millimeters so that the fingertip will blend in with the color of the paper or parchment, eliminating the need for retouching the images.
When the design has been tested, I will post 3D printable .obj files on this site and on Git Hub for free download.