Ring of truth
So, what is a post about woodworking and rings doing on a blogsite about manuscripts and technology? Well, my only defense is that “manuscience” comes from Latin manus = hand, and scientia = knowledge. This post, then, is about the knowledge of making things that go on the hand…. Pretty weak, but there you are. Read on if you like wood.
For the beginner or journeyman woodworker, finding the right type of project to suit your work space and budget is crucial. For me, I had a corner of the cellar with a very basic set of larger power tools – table saw, band saw, drill press, miter saw, belt sander – along with the standard smaller power tools – drill, Dremel or rotary tool, angle grinder – and finally a few useful hand tools including an old (and good) plane, a Japanese saw, and some simple chisels. So, anything large that produced large amounts of dust was out, as was anything that required expensive new equipment. Because I’m interested in fine work and design, I landed on wooden rings.

What follows is an introduction for the beginning ring maker.
Tools
The good news is that with a mini lathe – you can get one on Amazon for $45 (Figure 2.B below)– in addition to the basic power tools mentioned above, you’re good to go. The bad news is that you will likely need to fabricate a few hand tools or attachments for your lathe and drill, including wooden mandrels for holding the rings, and one or two small chisels or cutting tools.


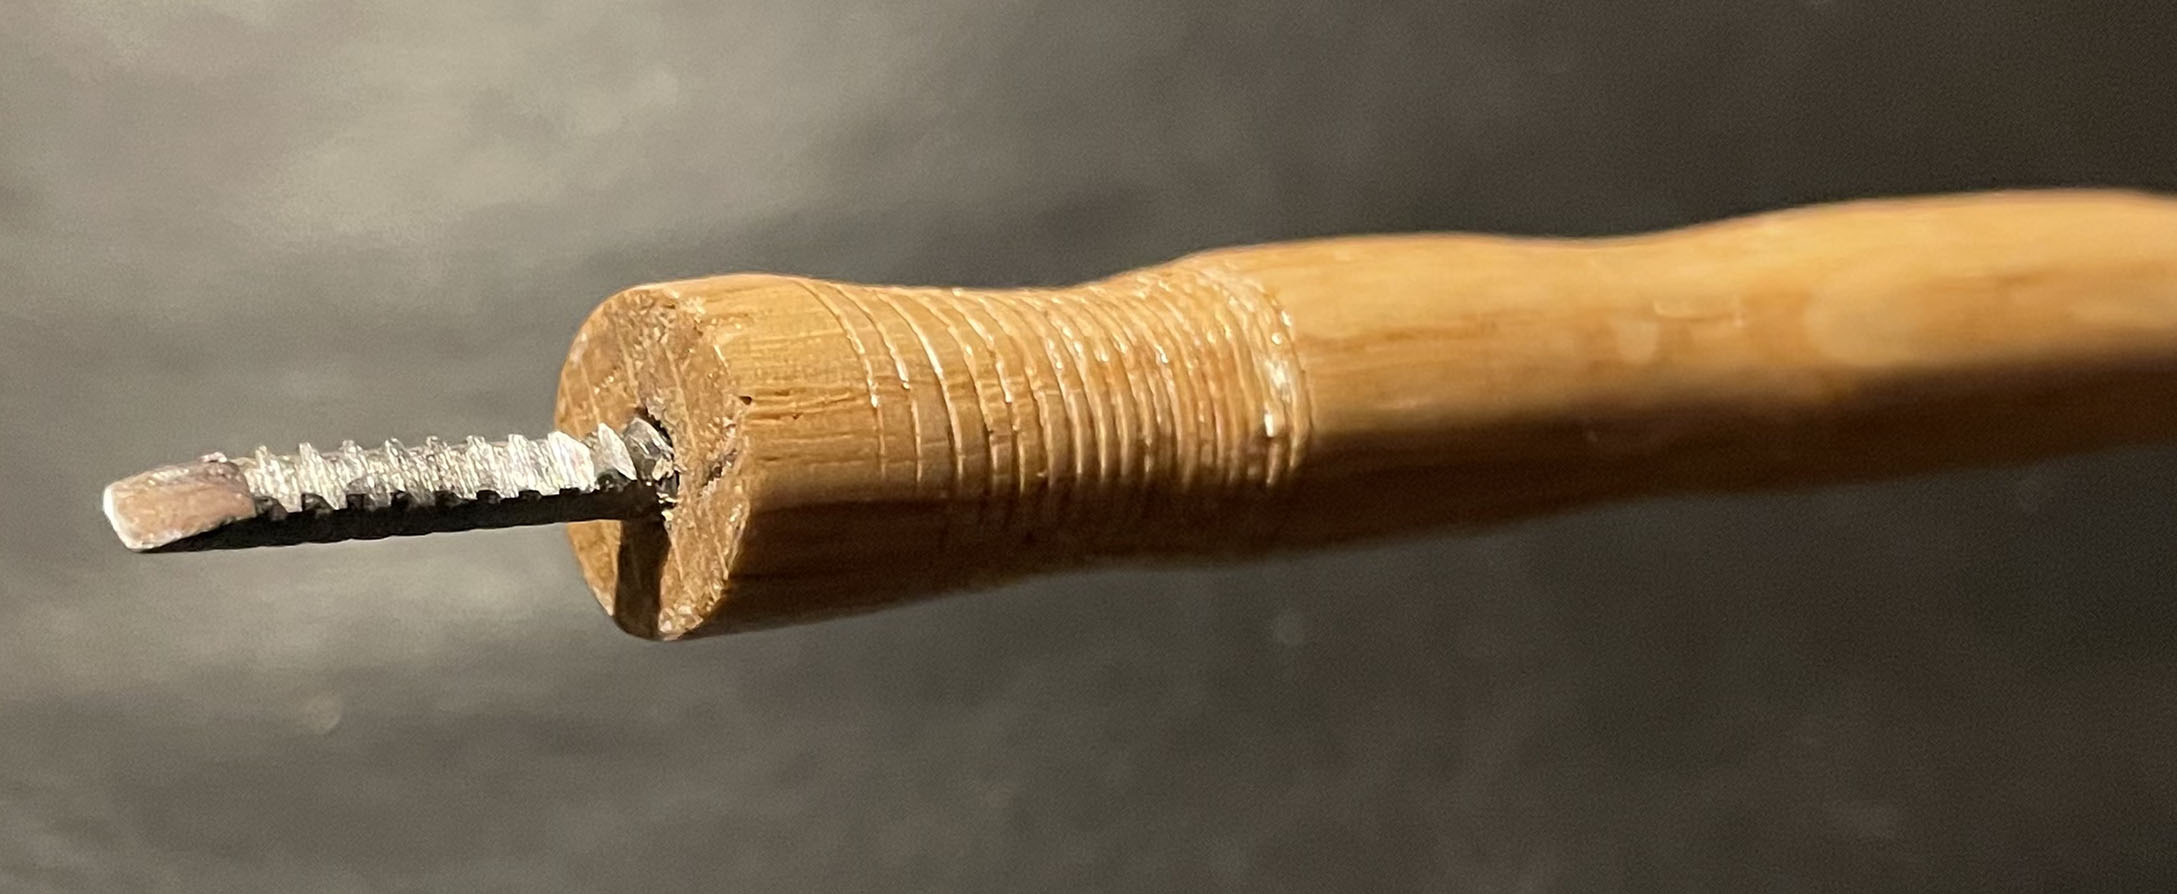

The chisels that come with the mini lathe are such poor quality metal that they are basically useless. Normal chisels, meanwhile, don’t fit the bill for two reasons: first, they tend to be very expensive, and second, given that rings are usually between 3/16th and 1/4 inch wide, most commercially available chisels are too broad. The tool here (Figure 2.A) is made out of a hardened screw, although any hardened metal piece can be used. First, I shaped it on the belt sander, thinning and flattening it into a blade of between 1/8 and 3/16 of an inch wide. Then I cut the end of the blade at an angle and sharpened the bevel on a whetstone. Finally, I screwed the opposite end into a self-made oak handle that I had turned on the lathe.
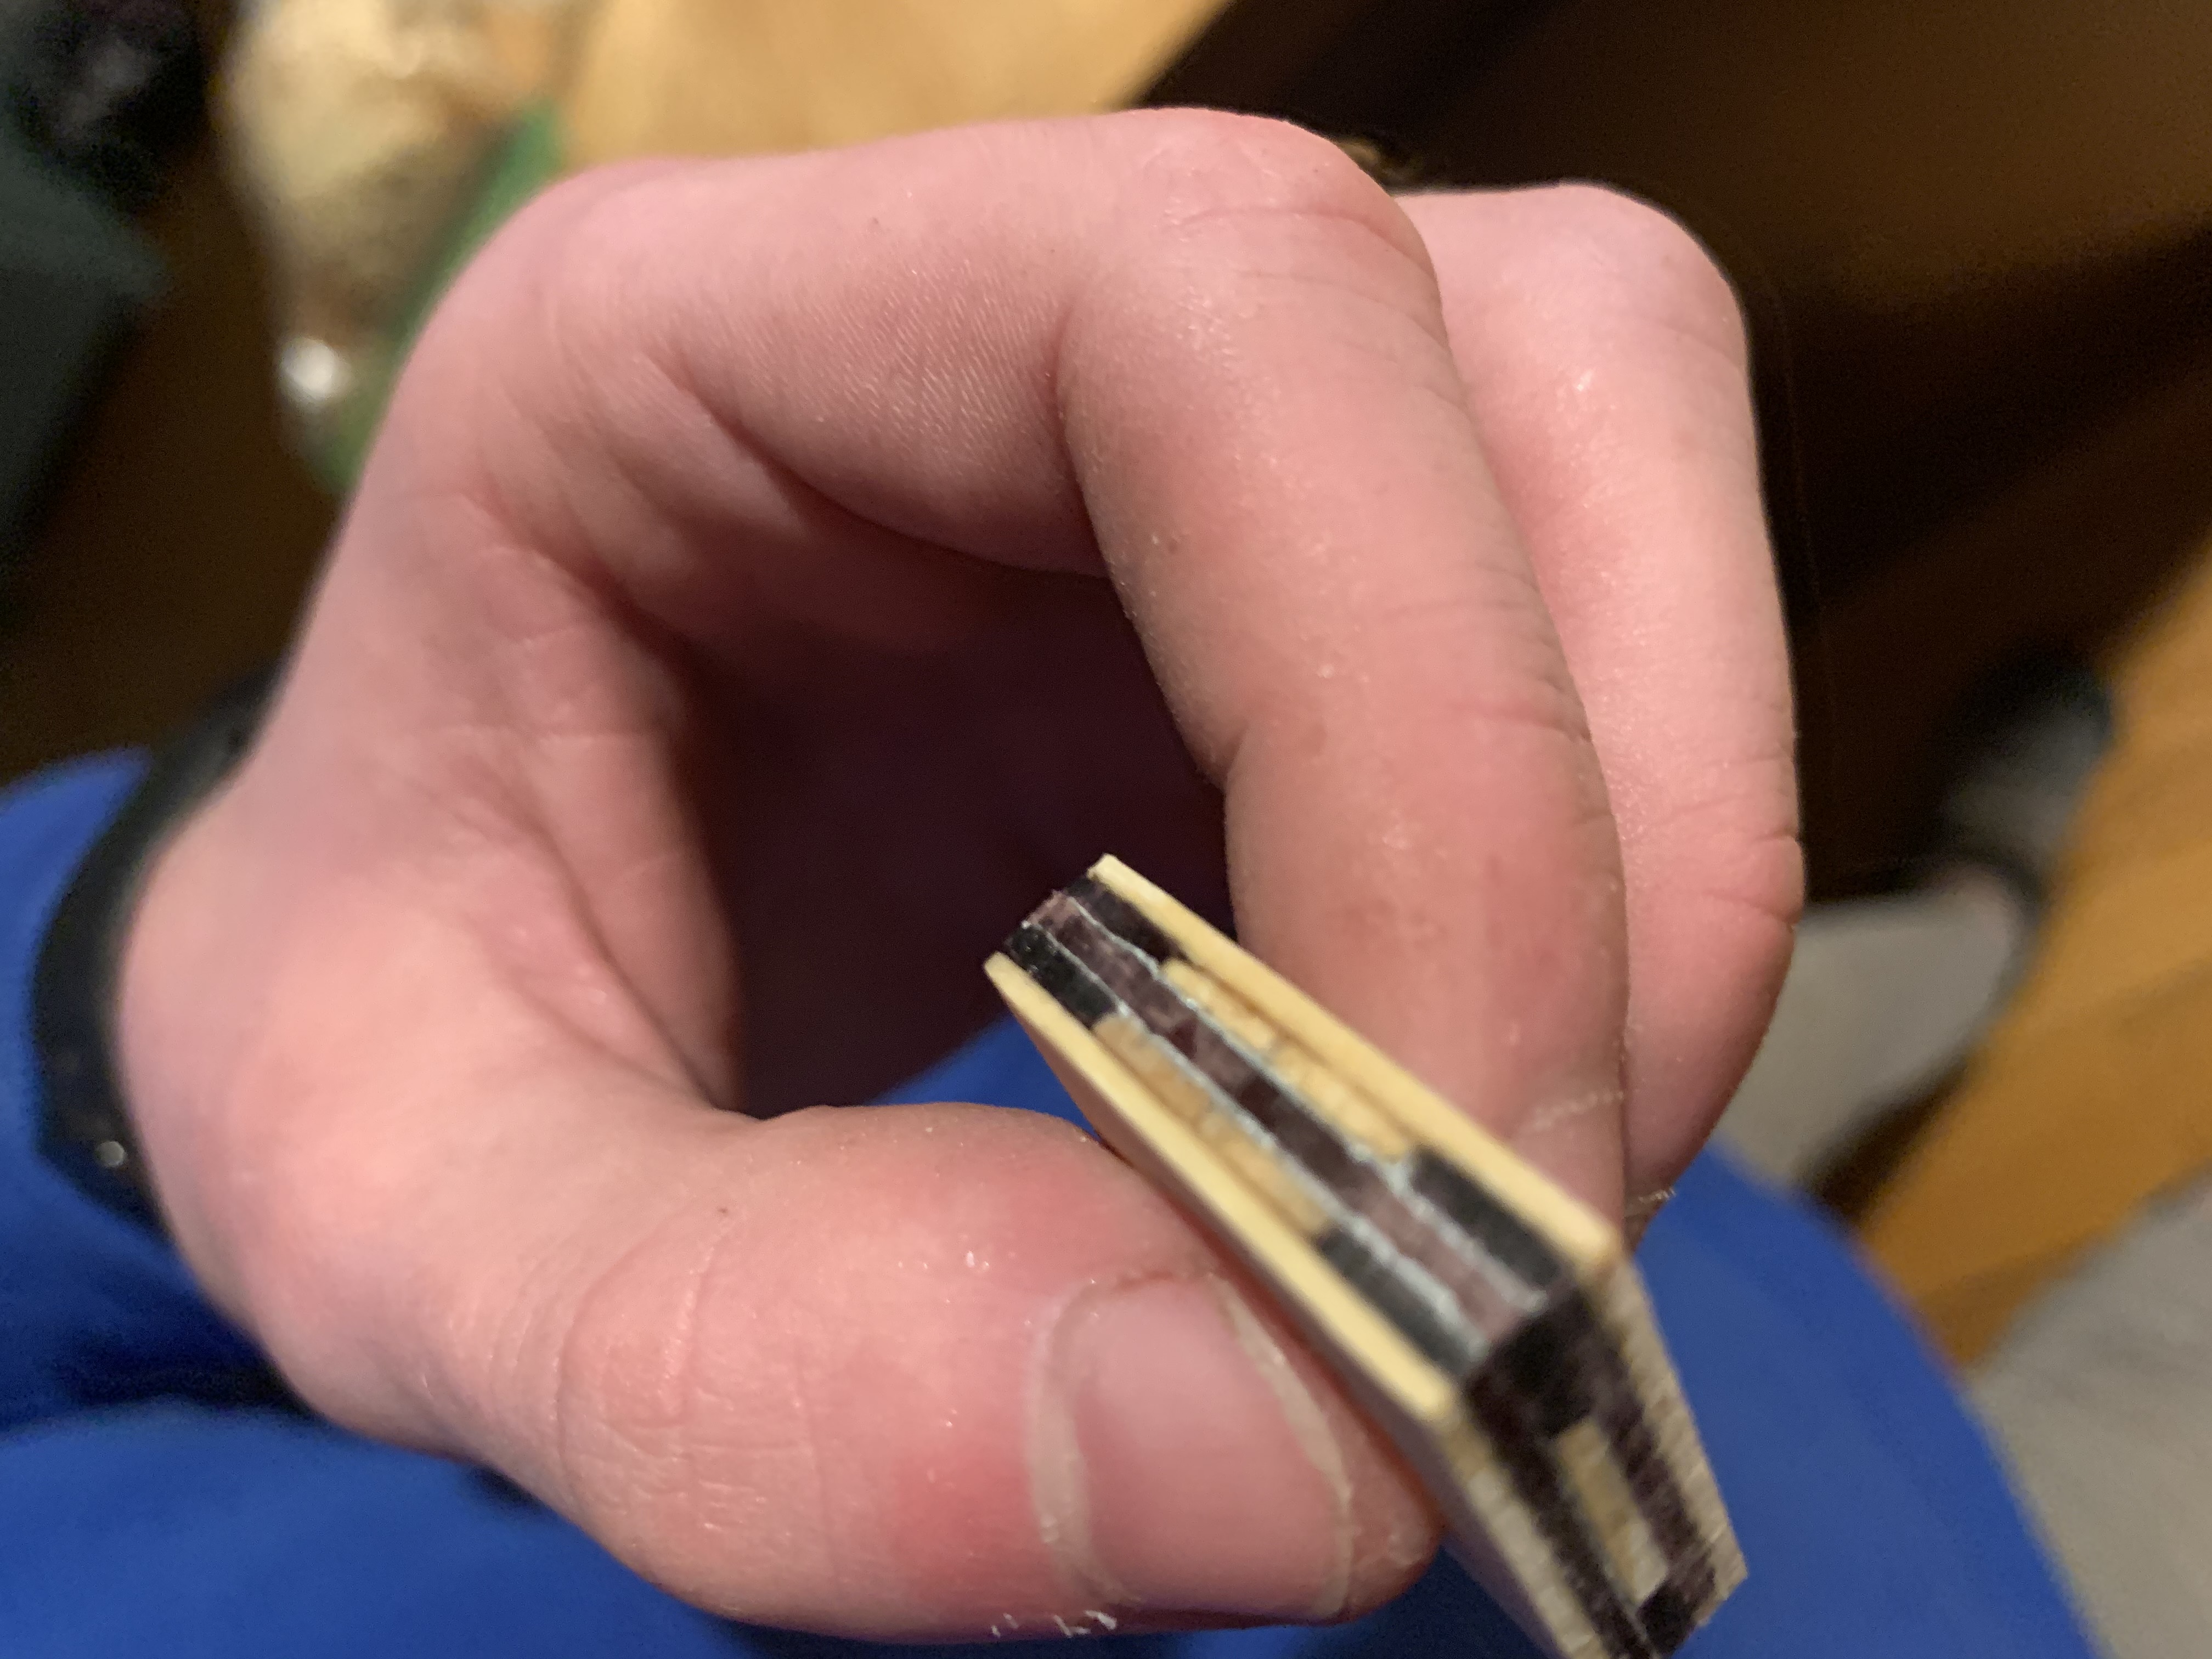
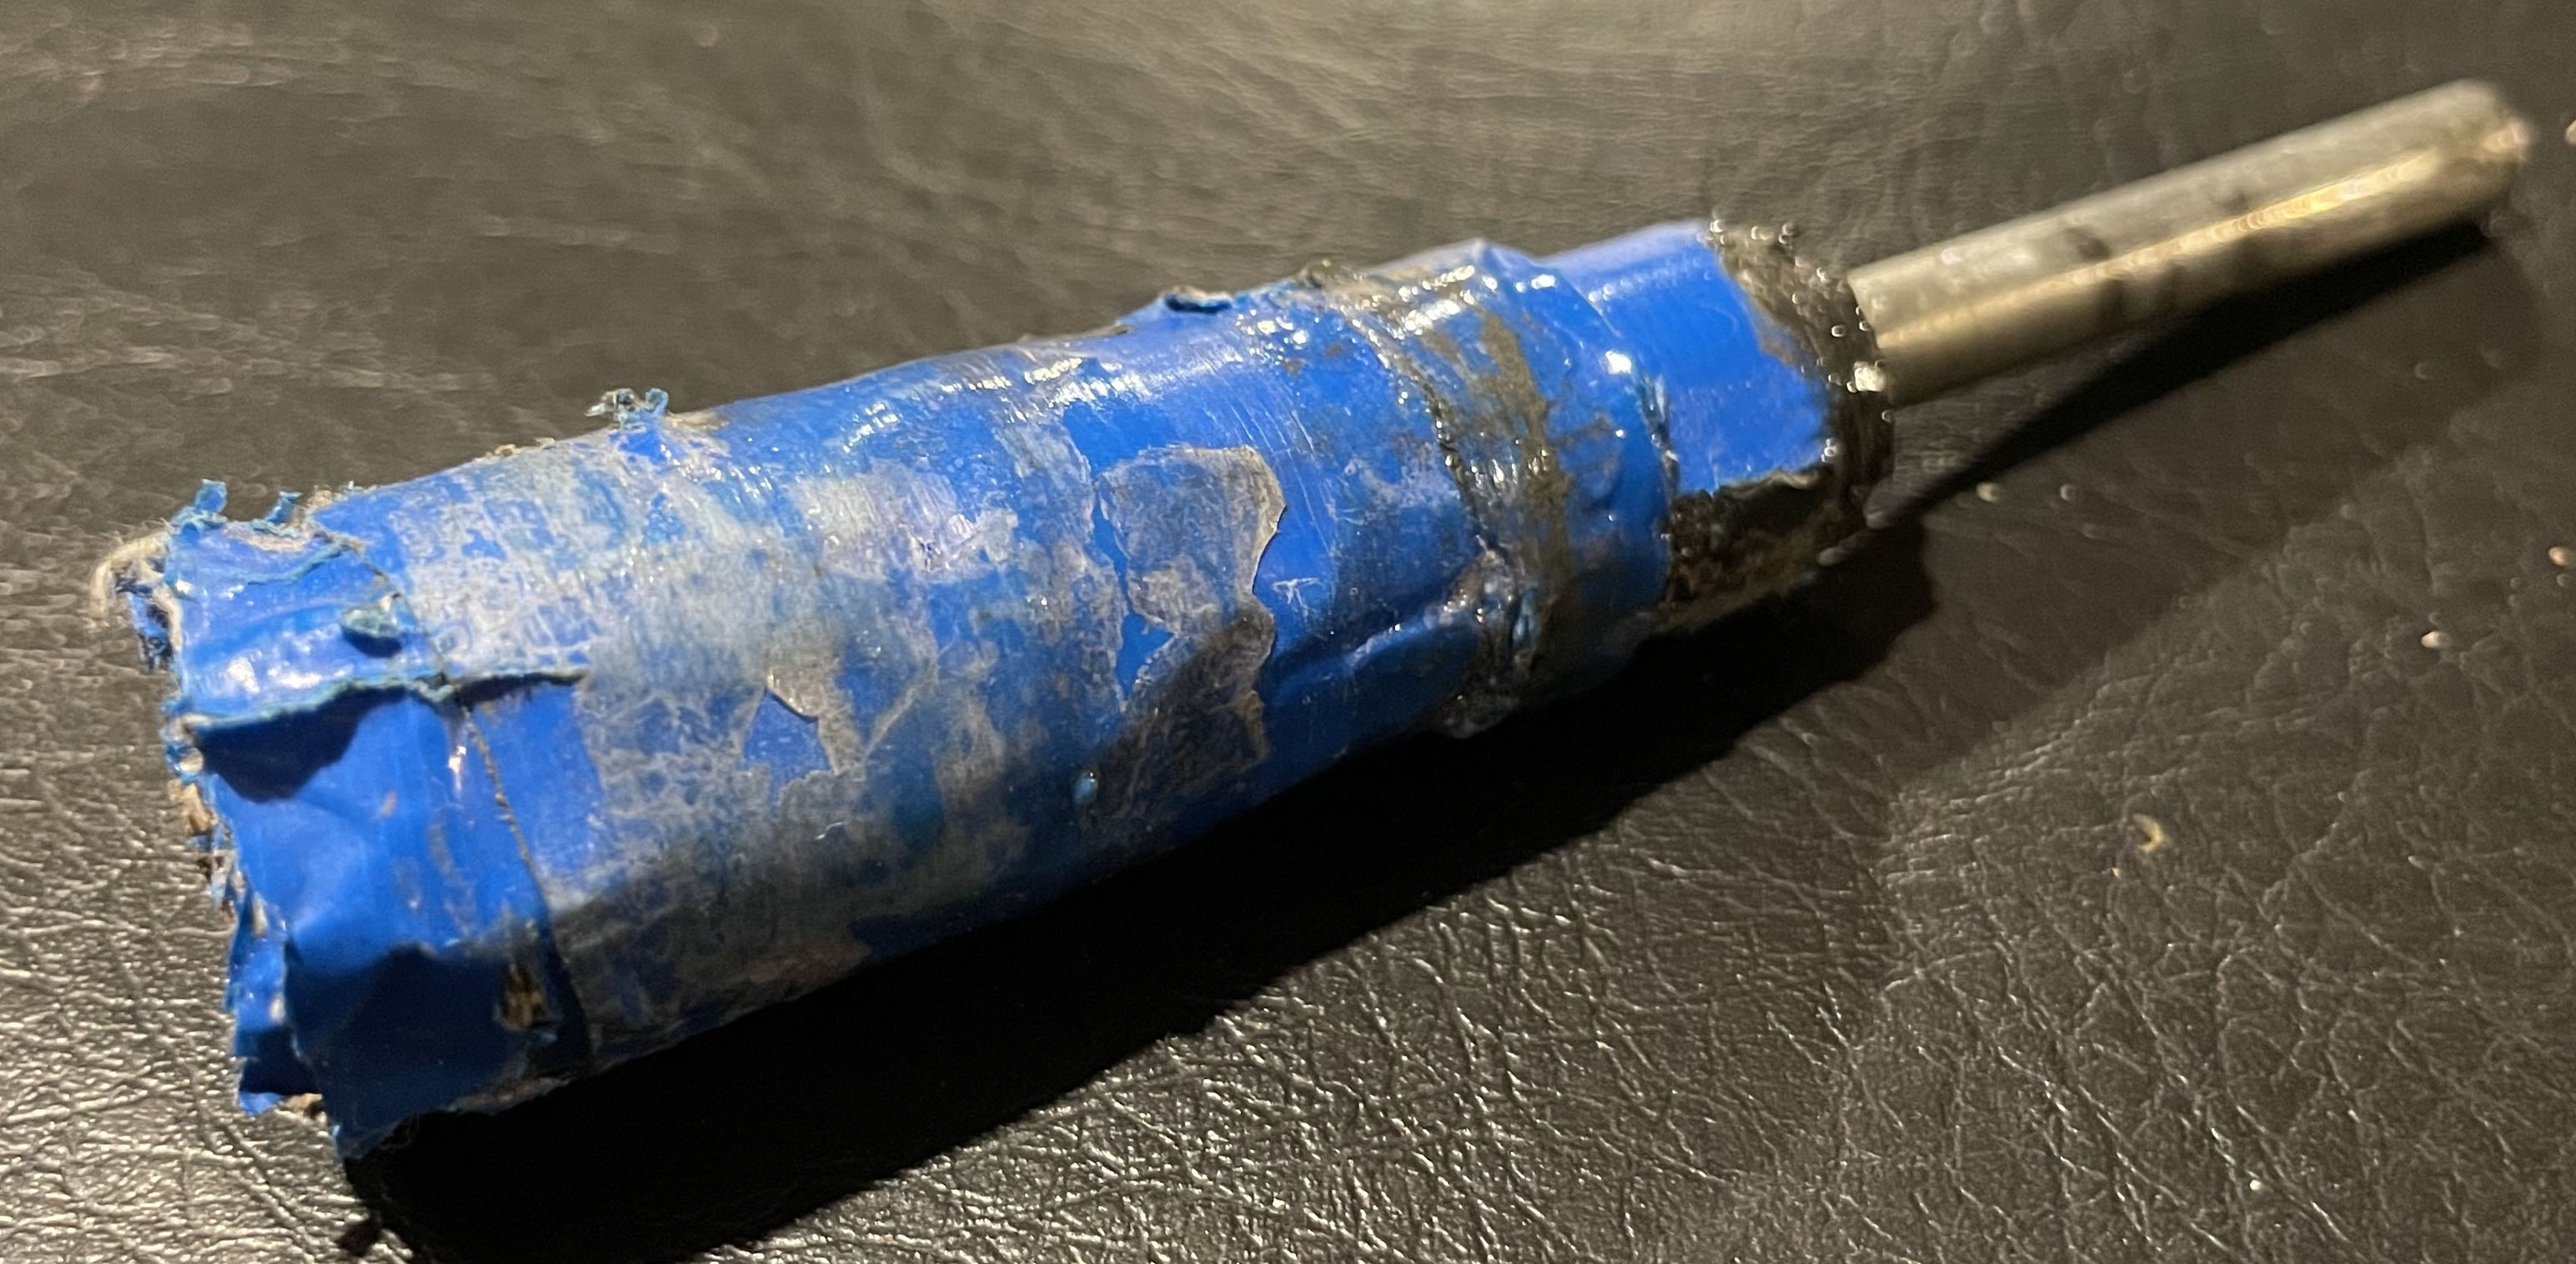
To hold the rings, meanwhile, I improvised a set of mandrels. The ugly blue thing in Figure 1.A made out of a screw driver handle and duct tape is designed to hold a ring when applying finish and works best with a drill. The mandrel in figure 1.B, meanwhile, works only with the lathe. Placing the ring blank onto the shaft, the lathe nib fits into the hole at the end, widening the mandrel to the desired circumference and holding the ring in place for shaping. Finally, the mandrel in Figure 1.C is designed to enclose the ring from the outside so that one can shape and finish the interior. This mandrel fits both the lathe chuck and the drill. Notice the wire around the neck which can be loosened and tightened to accommodate rings of various sizes. Note also the blocking ridge just inside the mouth that holds the ring flat and level.
Wood
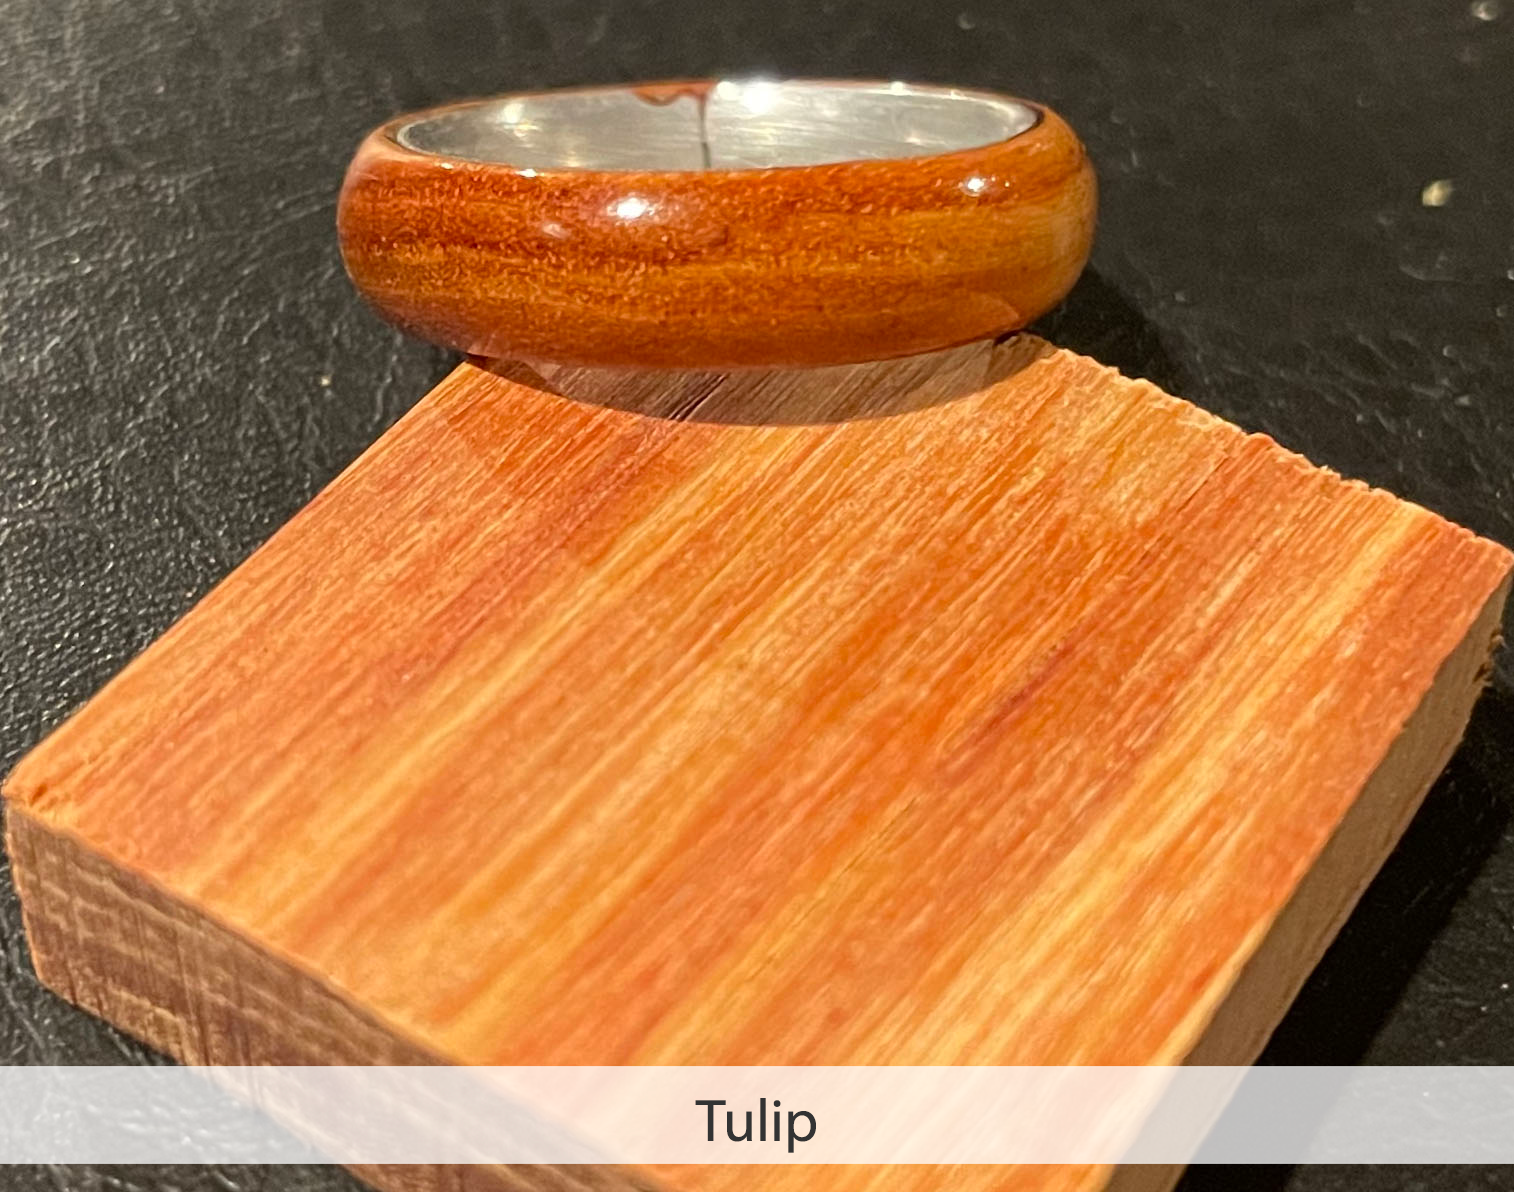
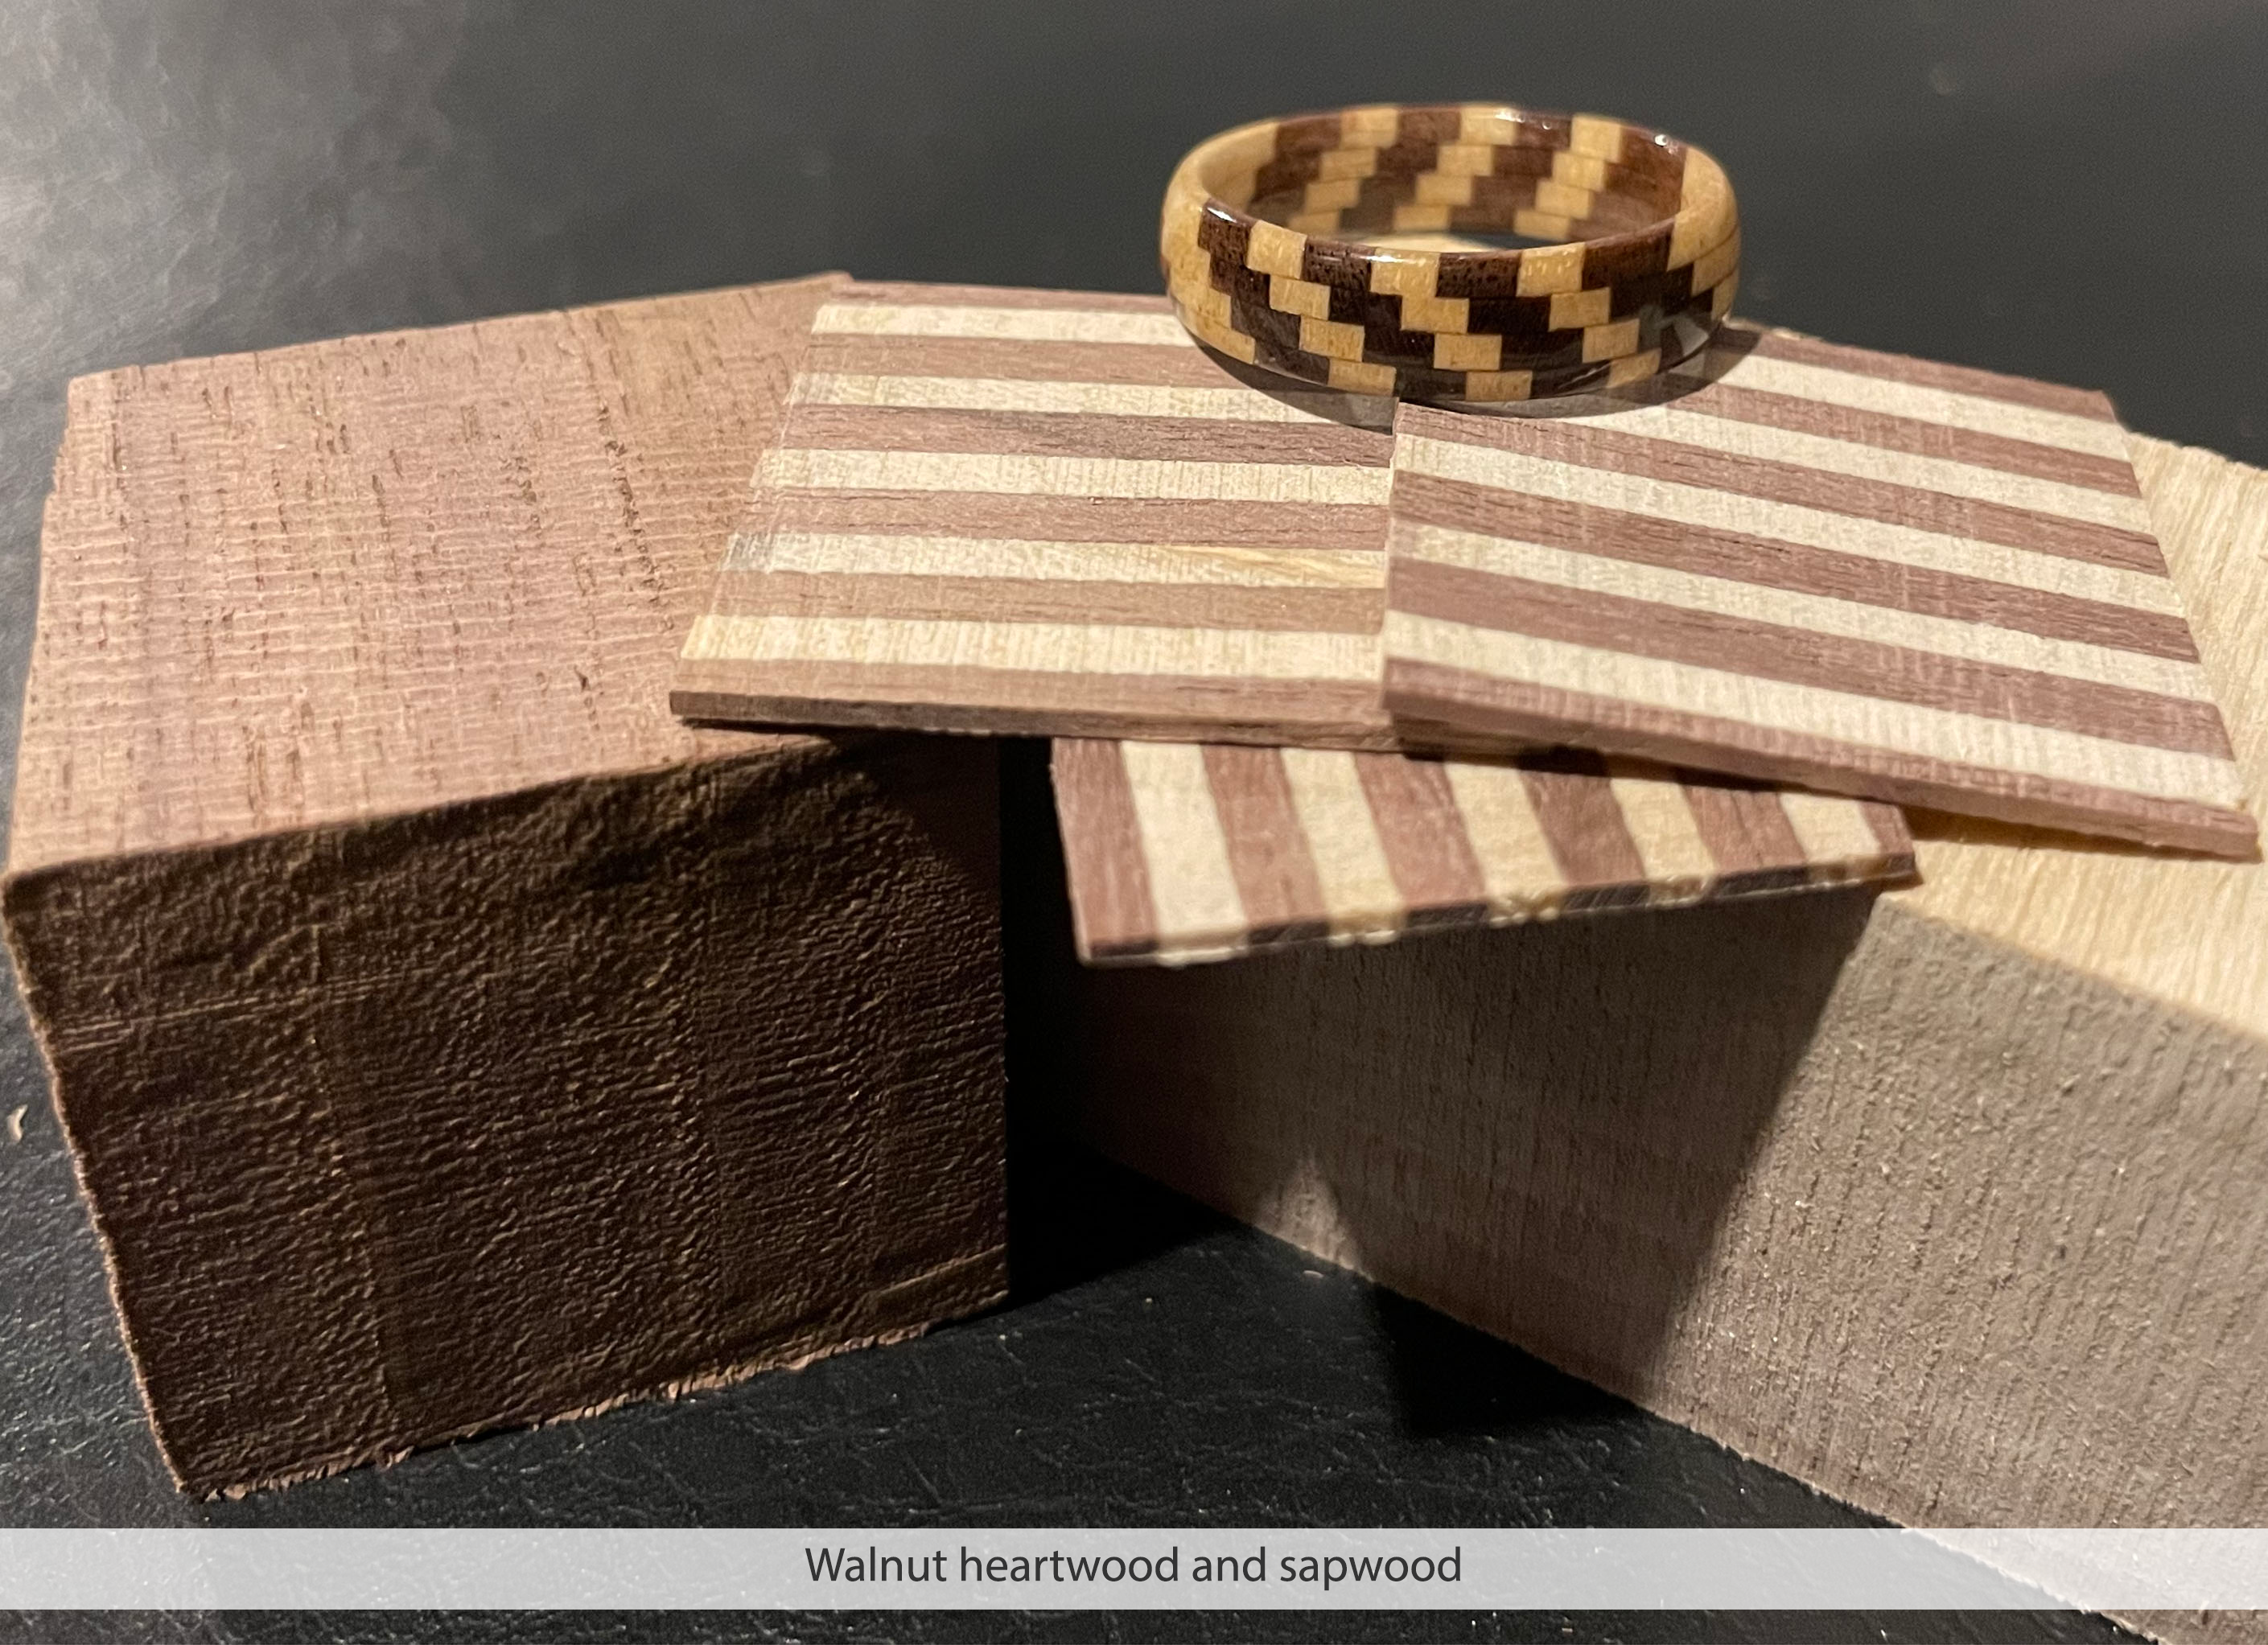
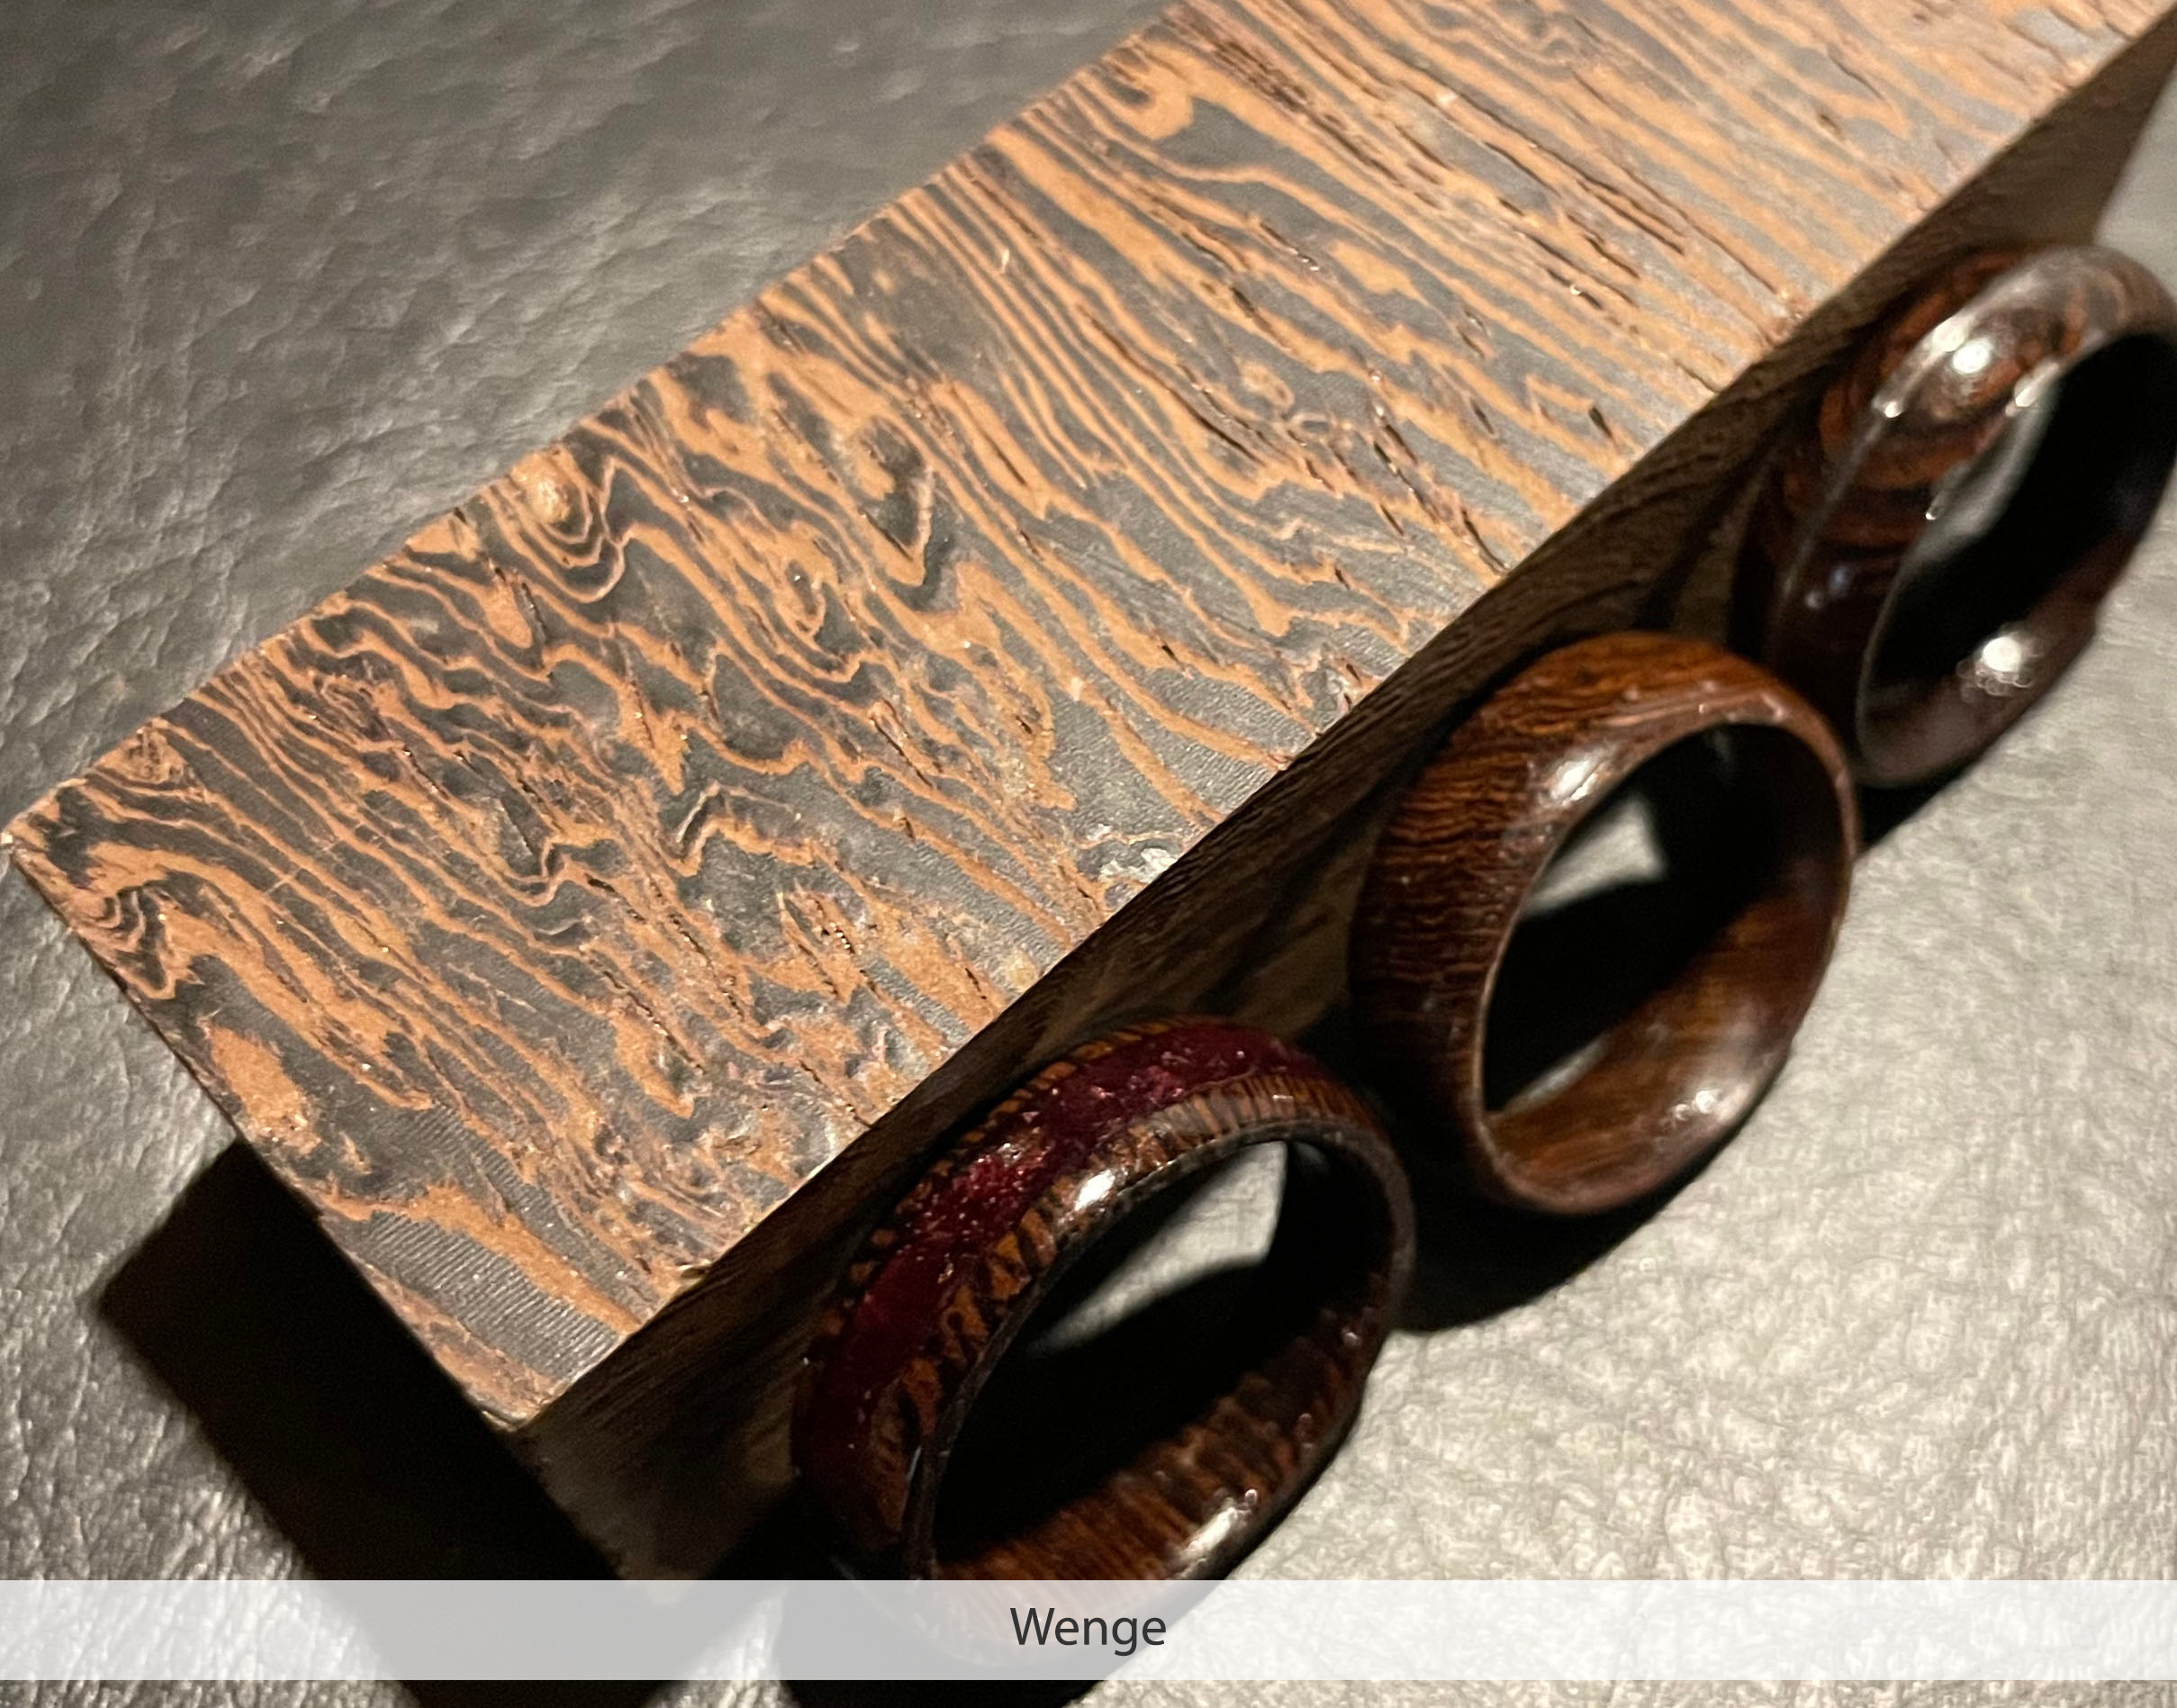
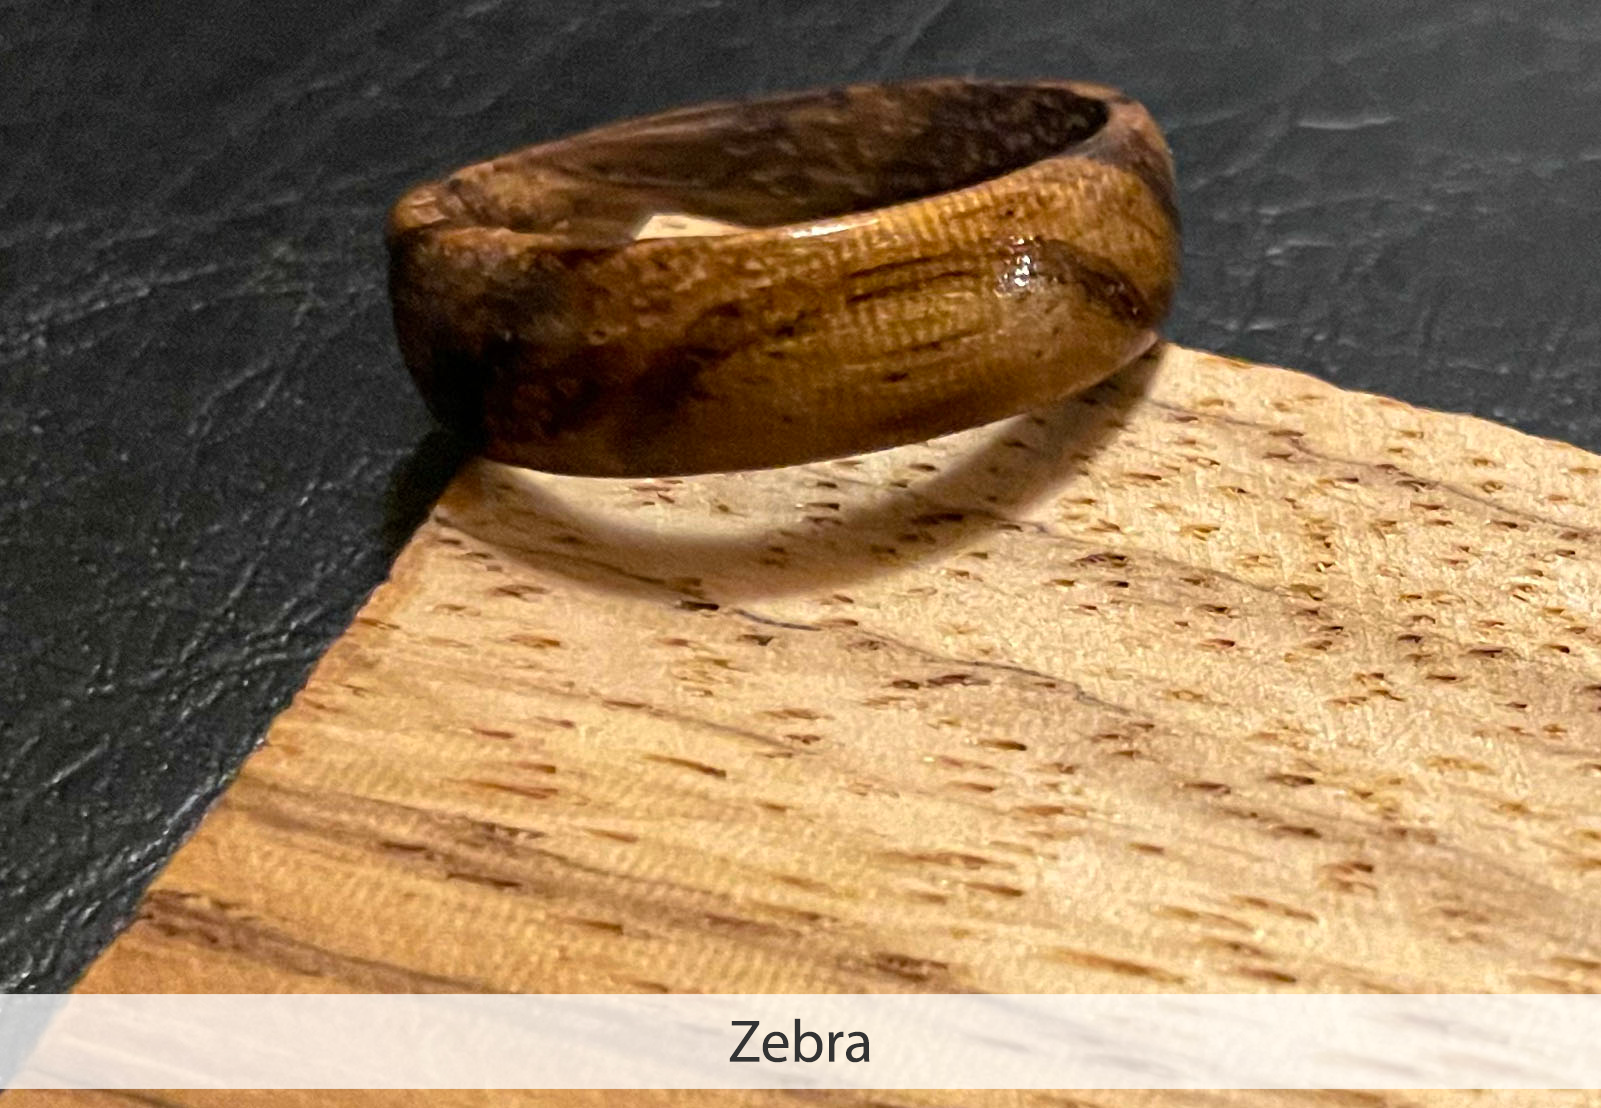
Choosing the right wood isn’t just about esthetics. The hardest woods are not good. Ebony, for example, has a tendency to splinter and crack. Many kinds of wood that look great as flooring or in furniture have a grain that is too large. Rings are small, so large grain will take up a disproportionally large part of the ring, making it look unbalanced. You will want a small grain in order to see a pattern rather than a single feature.
Another detail to watch out for when choosing a piece of wood is the color. If you use brown wood on the darker side, you will need to put water on it to check what it will look like with a finish, as finish always darkens the wood. If it is too dark, the grain won’t be visible, and from a distance the ring will simply look like a drab brown or black.
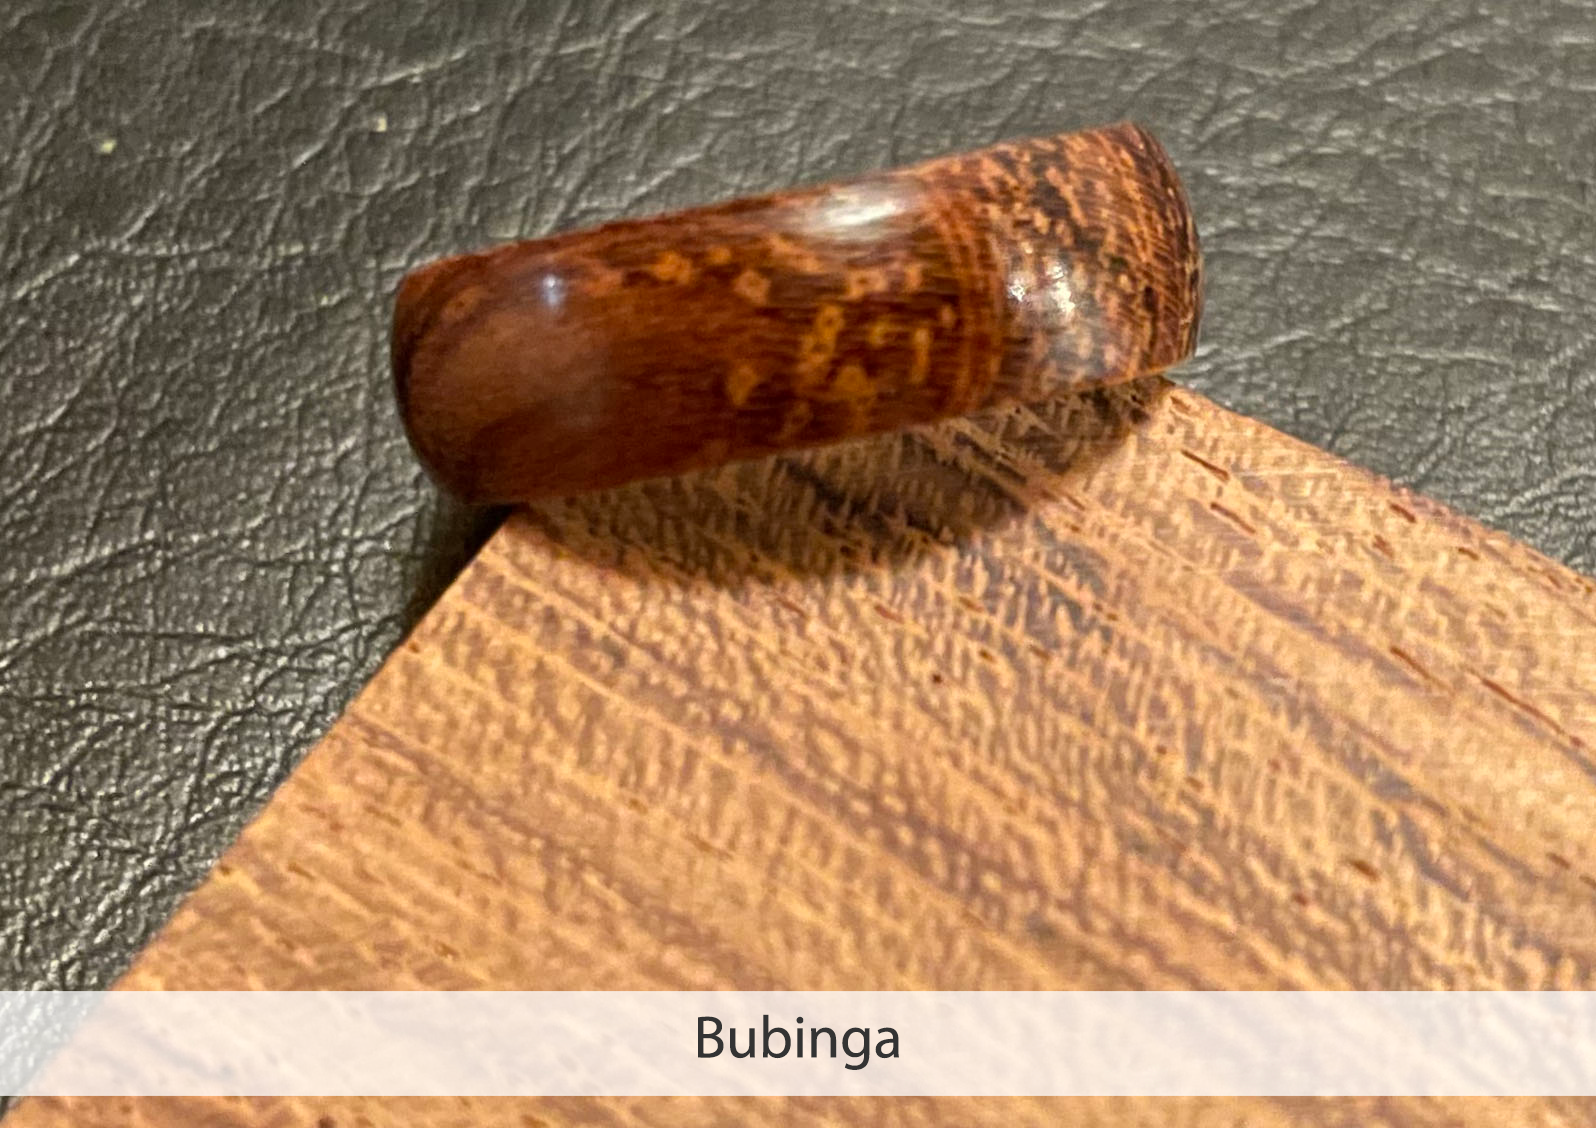
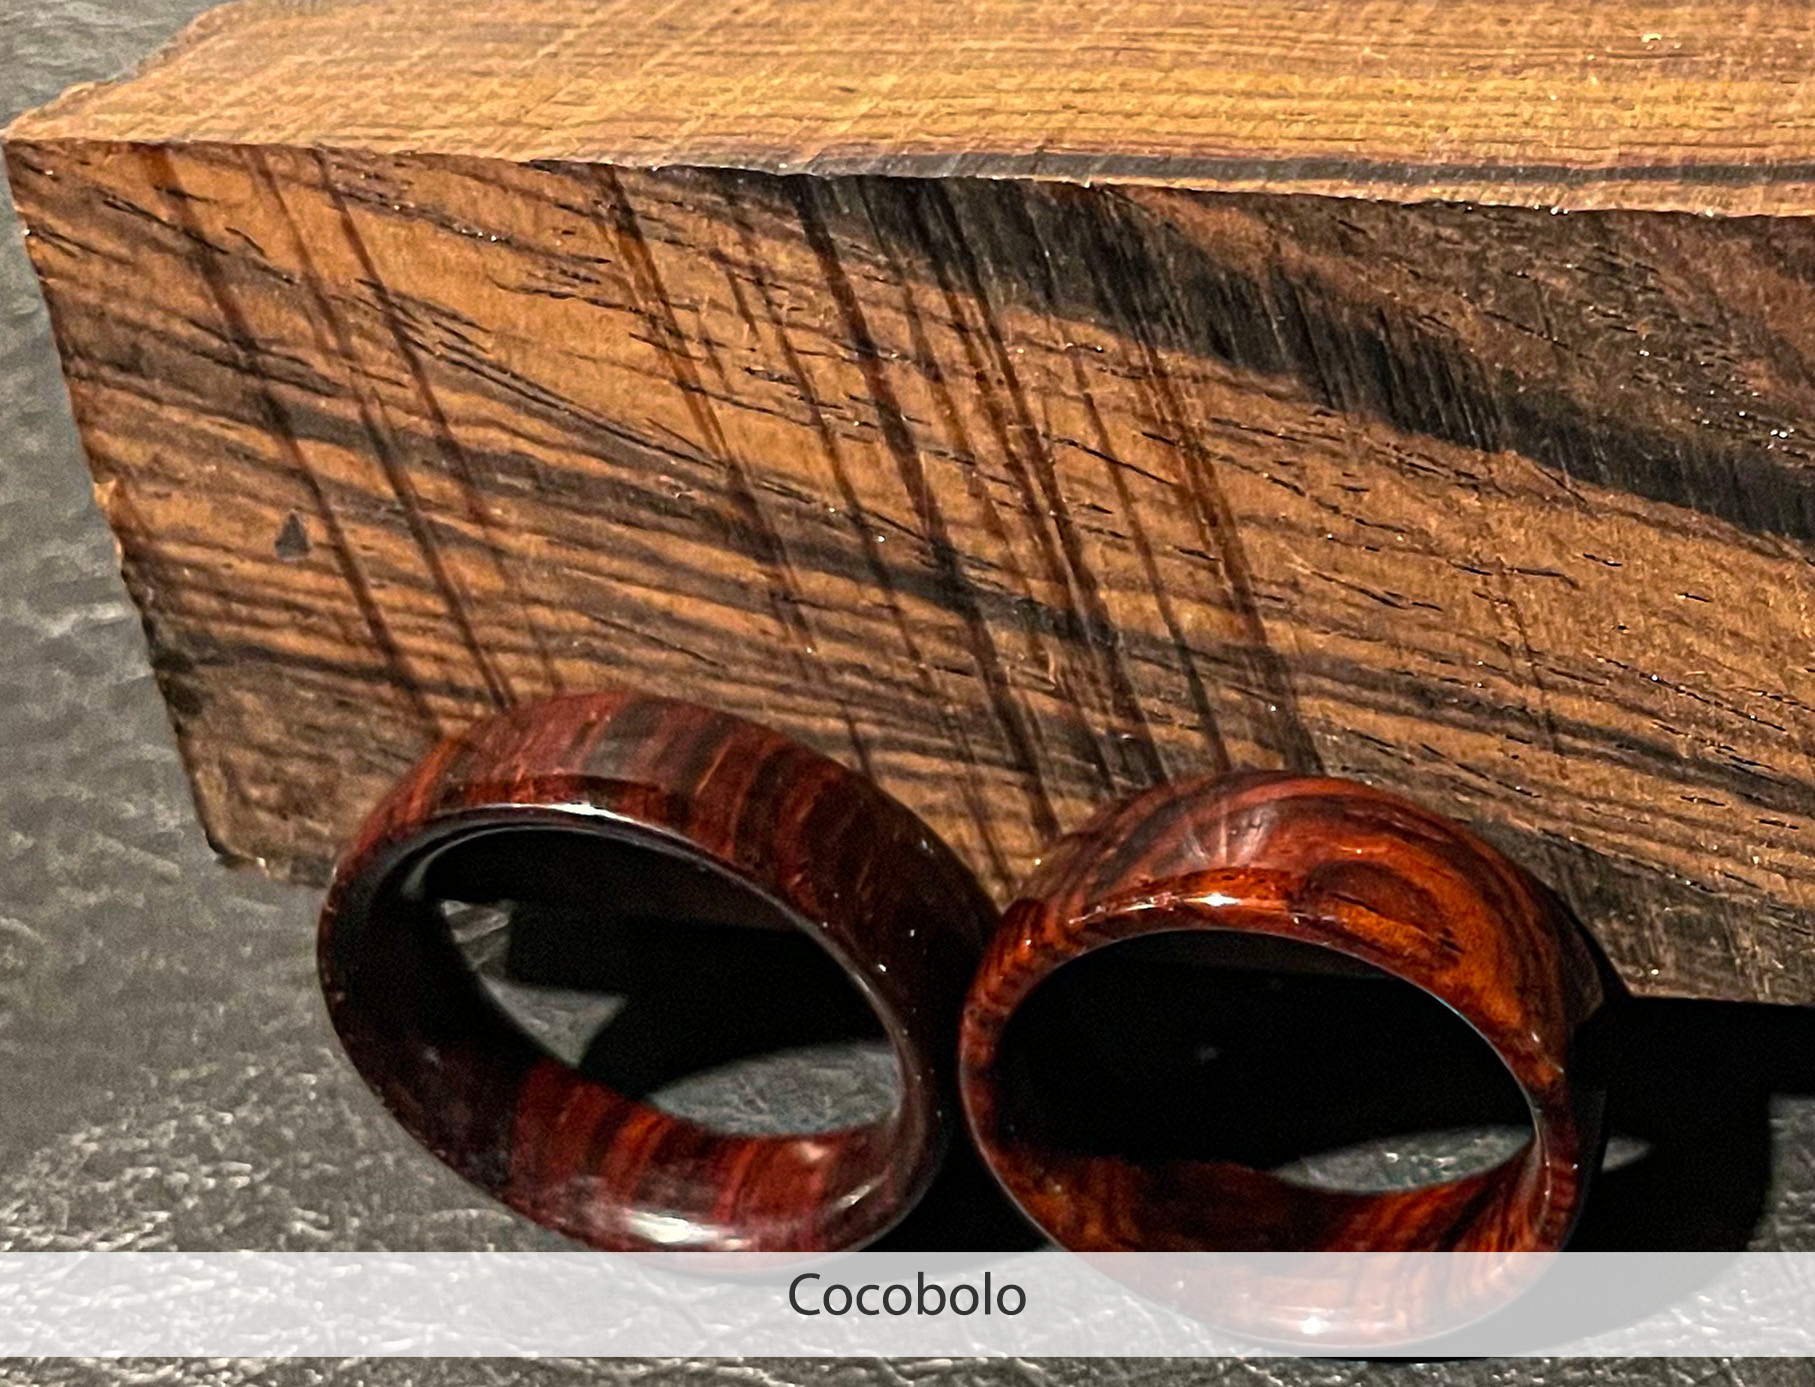
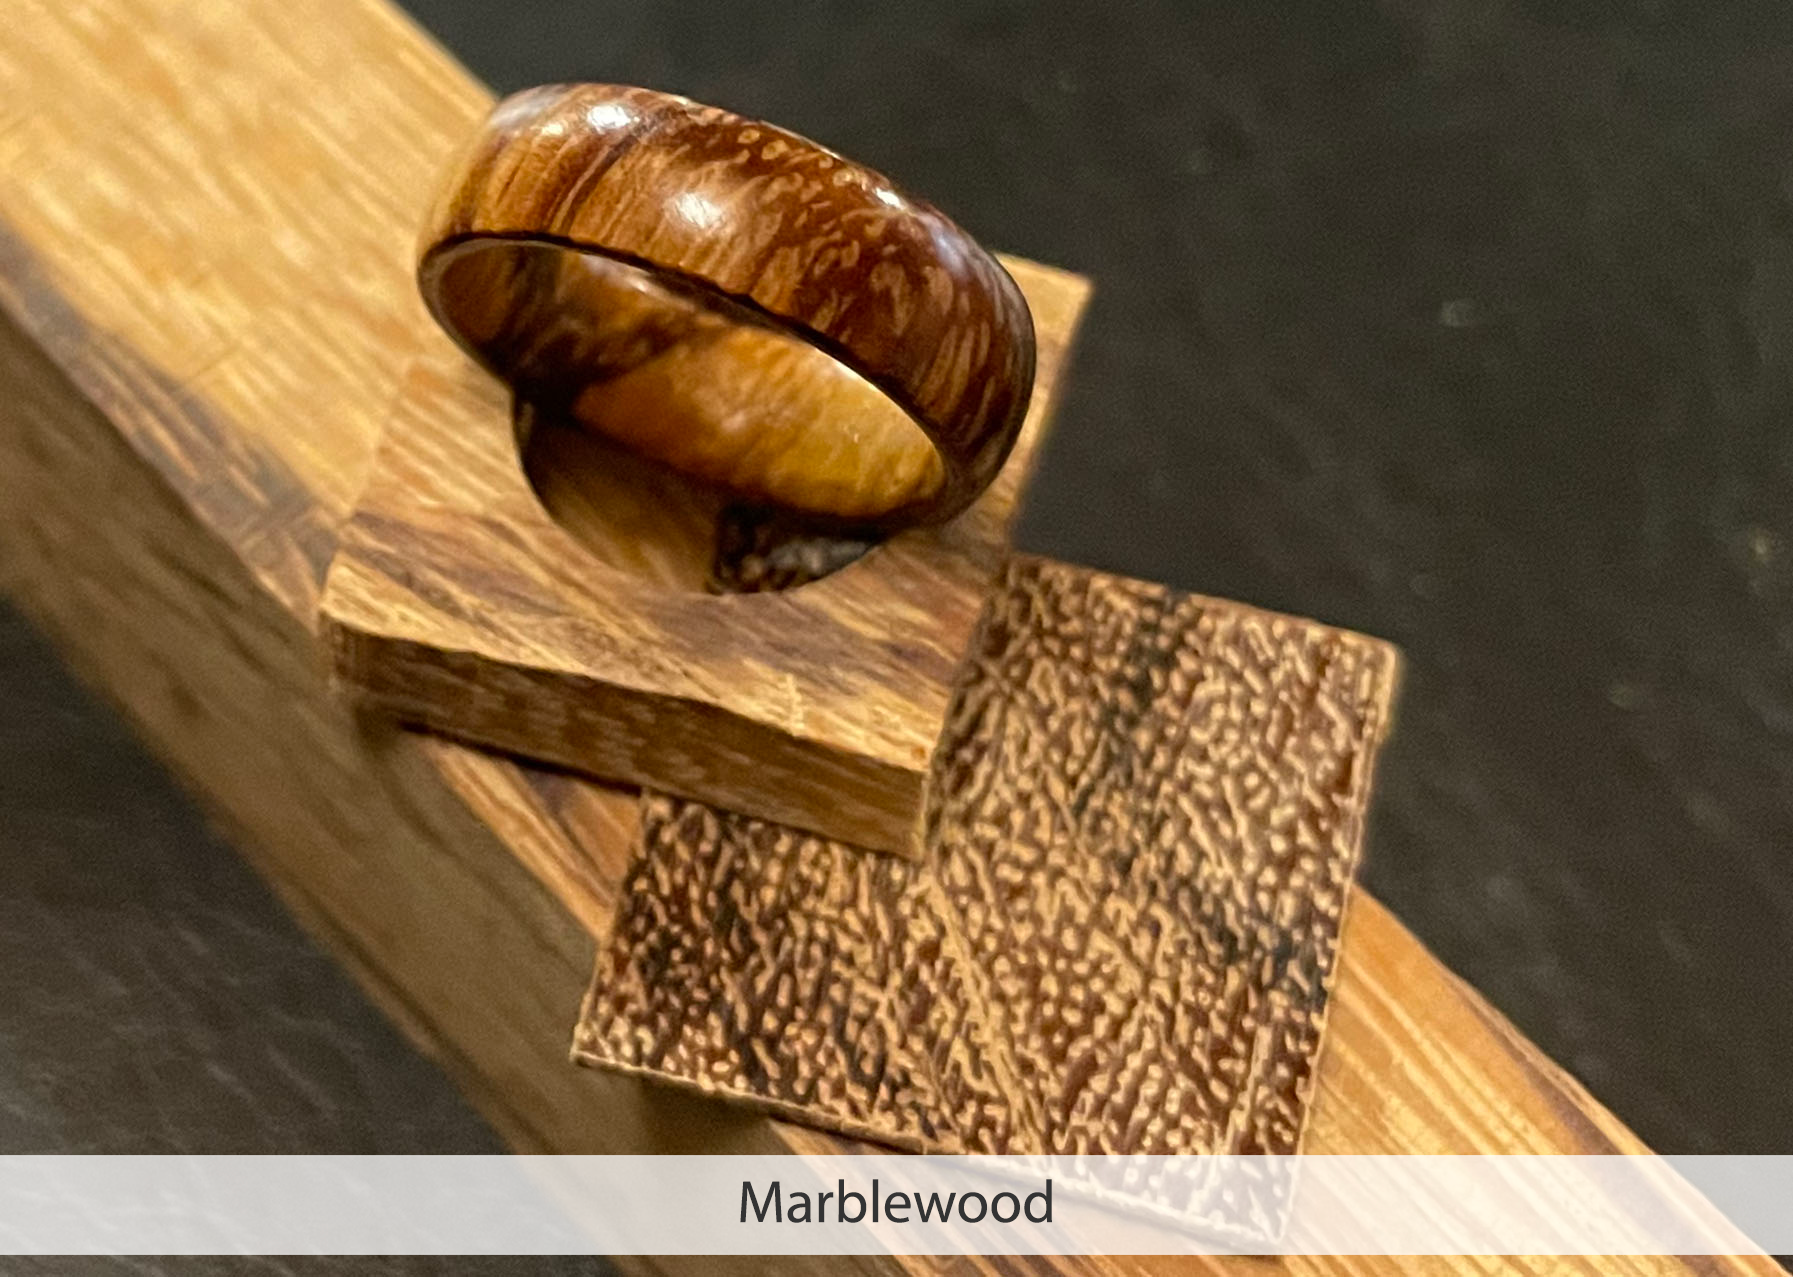
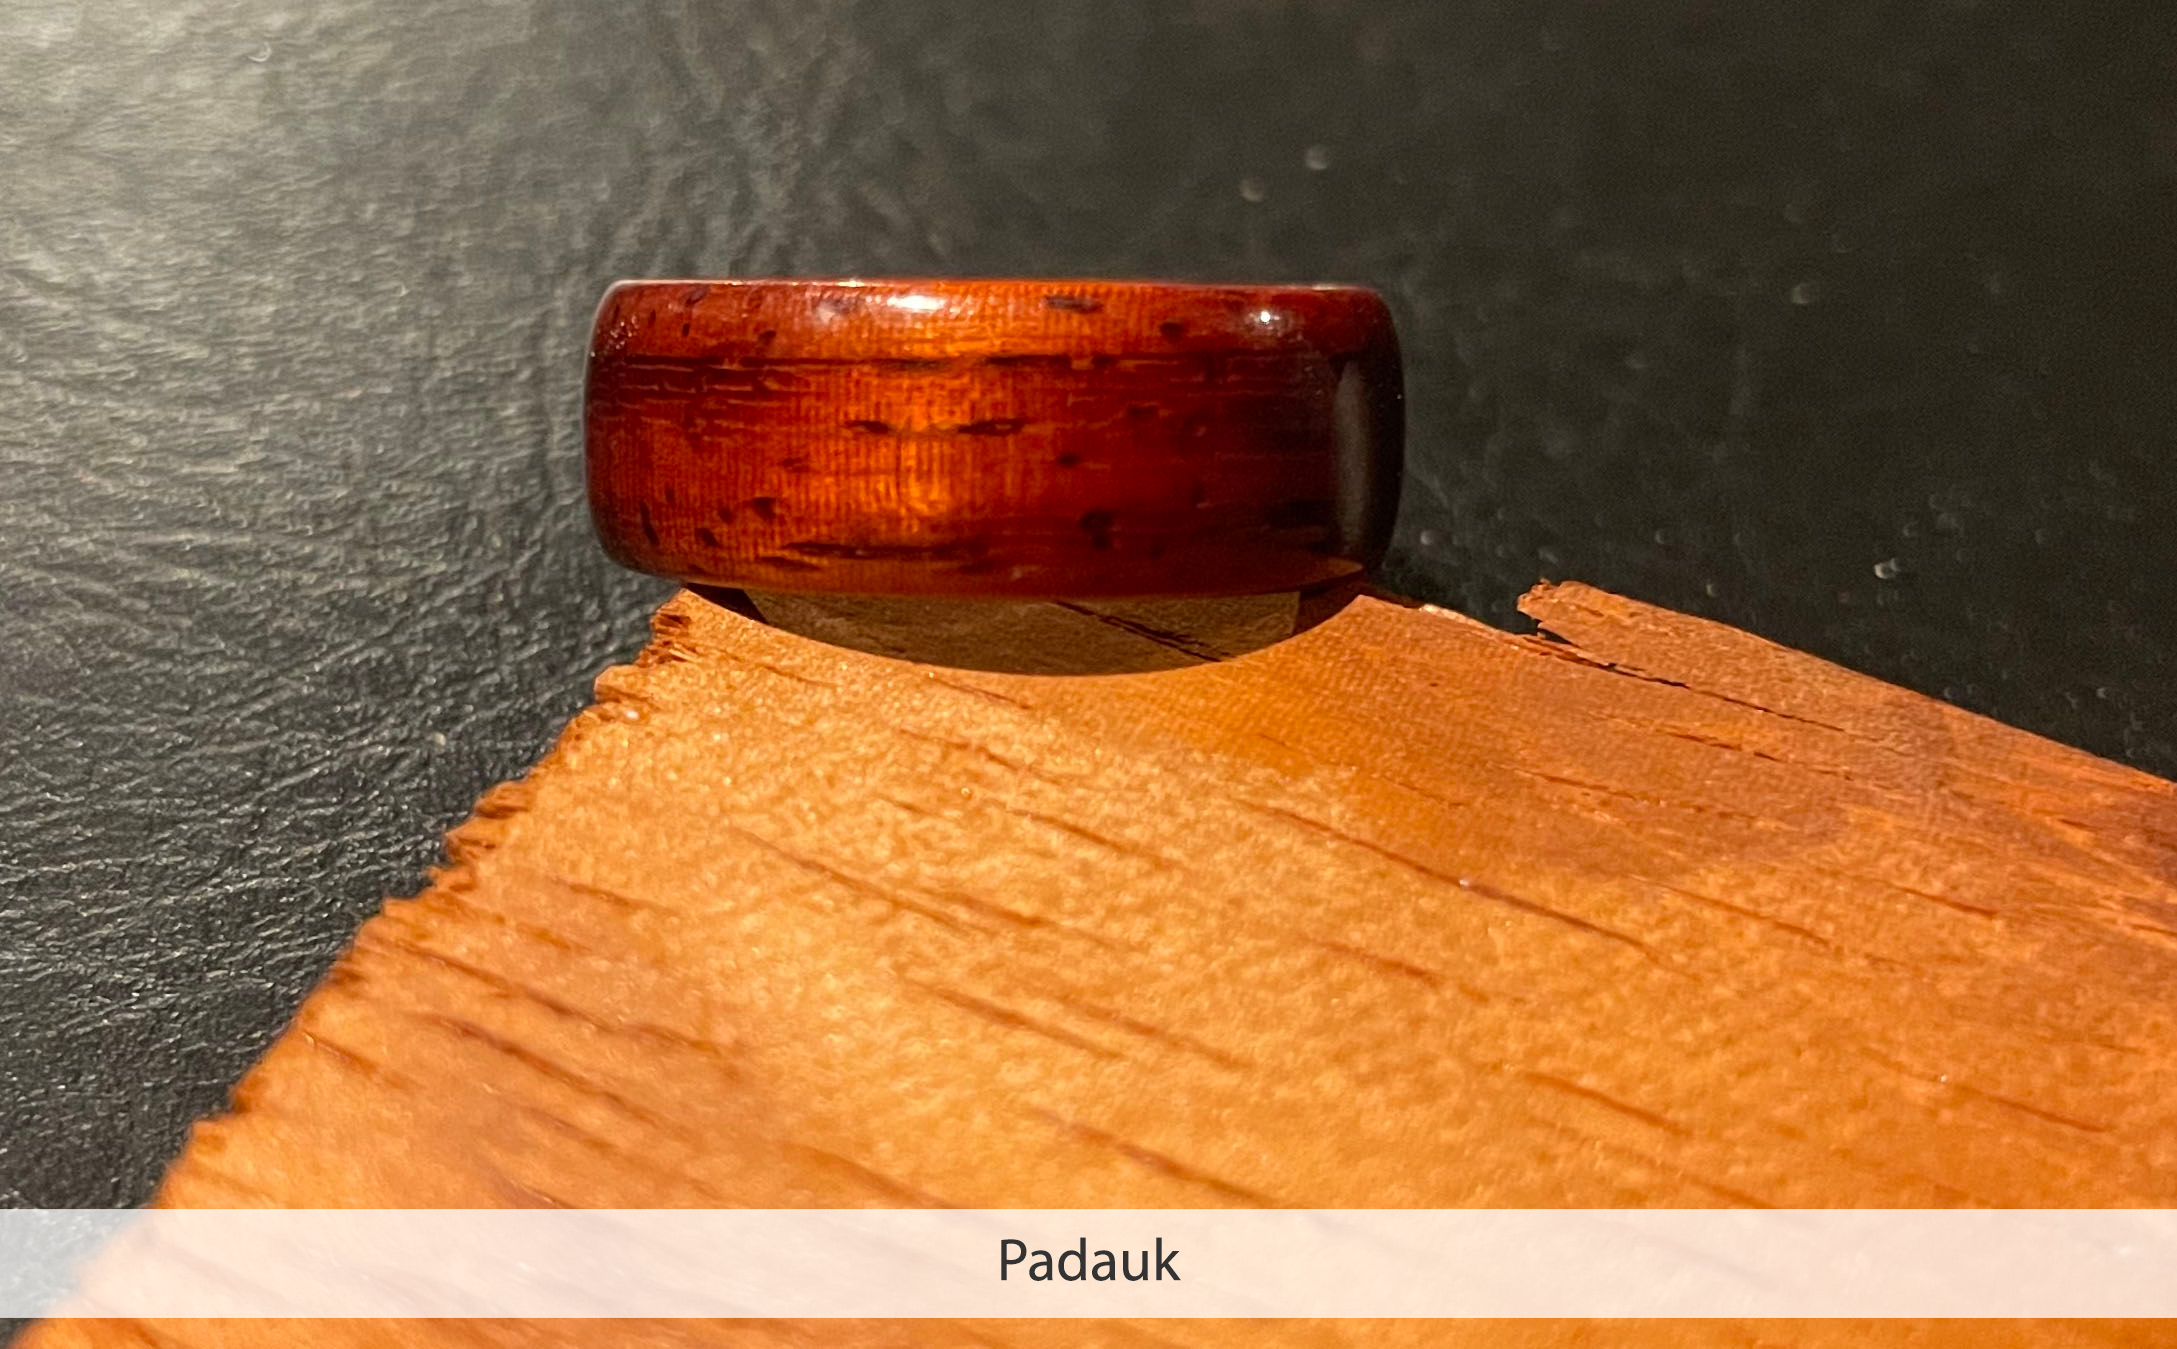
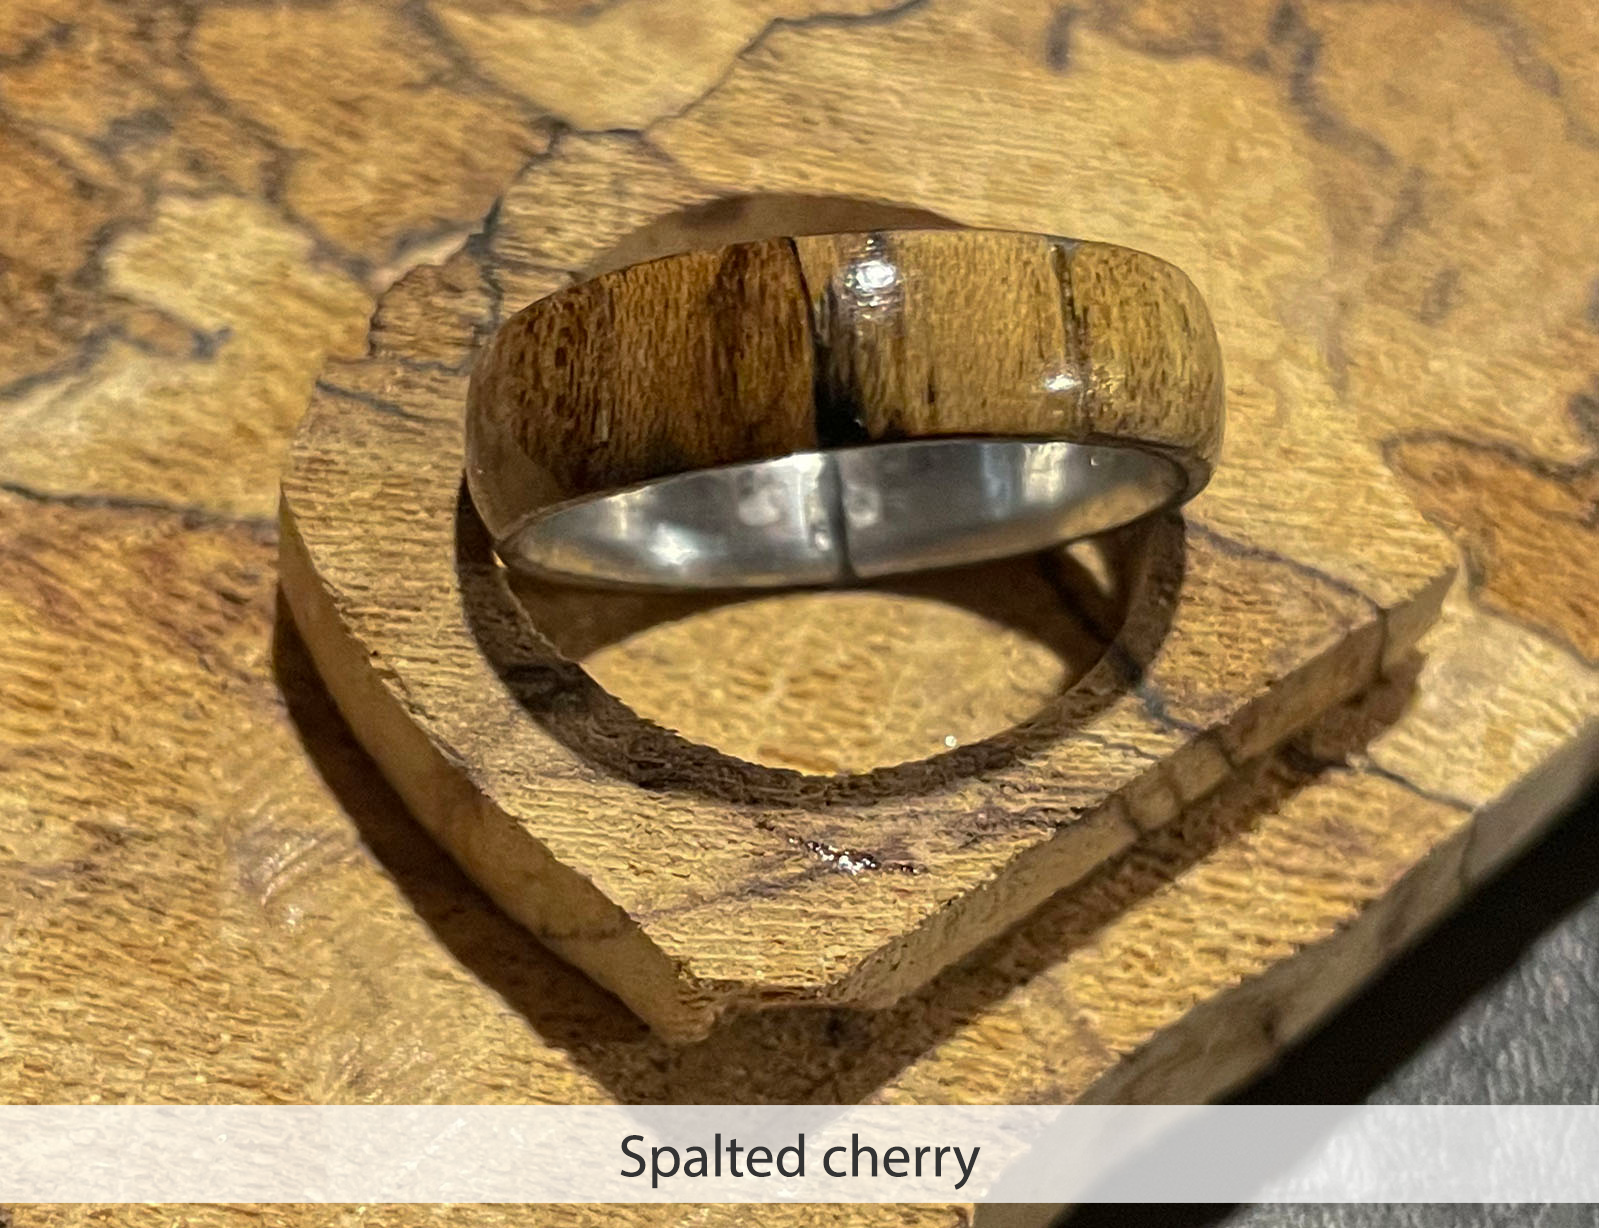
The gallery above has some of my favorite woods. Marblewood is perhaps the most dramatic. Although it is hard to drill into the end grain, it sands very well and rewards you with a strong color contrasts between the lines of the grain. Walnut and cherry are tricky. Both burn easily, especially when hollowing blanks out on the inside of the ring with a rotary tool. Walnut also is well known for its caustic dust that harms the lungs. Maple is very easy to work with, although its grain is not prominent, except in expensive flamed or quilted maple, and those features are largely wasted on something as small as a ring.
Finishes
 Finishes
Having experimented with a variety of products, I can say with experience that CA glue (cyanoacrylate, a.k.a. super glue) is the best finish. CA finishes, seals, waterproofs, and is highly polishable. The application process takes some time. A minimum of ten layers of CA glue are necessary, both on the outside and inside of the ring. To apply, I put the ring on the blue mandrel attached either to a drill (which I cradle in a vice) or the lathe. I put a drop of CA on a paper towel and then spin the ring to apply evenly. On its own, CA will dry in 40 seconds. With accelerator (see above) it dries in about 4 or 5.
To coat the inside of the ring, I use the mandrel that holds the ring from the outside. Using the drill set-up, I apply the CA to the near side of the inner ring, then turn the ring around and apply it to the opposite side.
Before I put on the CA finish, though, I usually apply linseed oil, or, if you intend to color the ring, a stain. The oil makes it glossier, darkening the ring and giving it more depth. After sanding carefully with the finest grit paper you can lay your hands on, you should apply the Meguiar’s PlastX polish, a magical compound that adds noticeable luster.
Tips and tricks
Perhaps the trickiest part of making rings is the slope on the inside, how to curve it to make it comfortable and smooth. Do it badly and the ring can get stuck on the finger; well done and it slips off with ease when properly sized, remaining snug when it is on. For this process, I use a rotary tool, gradually tapering the outside edges at a very slight radius, softening them until they no longer catch.
My second tip is to make the outside as thin as possible. Remember that it is easier to make a ring flat than domed, as the taper is difficult to get symmetrical. Also, domed rings tend to be uncomfortable between the fingers, where flat ones feel natural. This is easiest to do on a lathe with the cutting tool (pictured above) with a flat edge. If you try using a chisel with a round edge, you run the risk of causing divets you can’t see until you finish the ring. They can’t be effectively sanded out without ruining the geometry.
Oh, and remember always to wear your respirator!

If you have any tips or tricks you have learned, please post them in the comments below and I will include them in a later update.